No products in the cart.
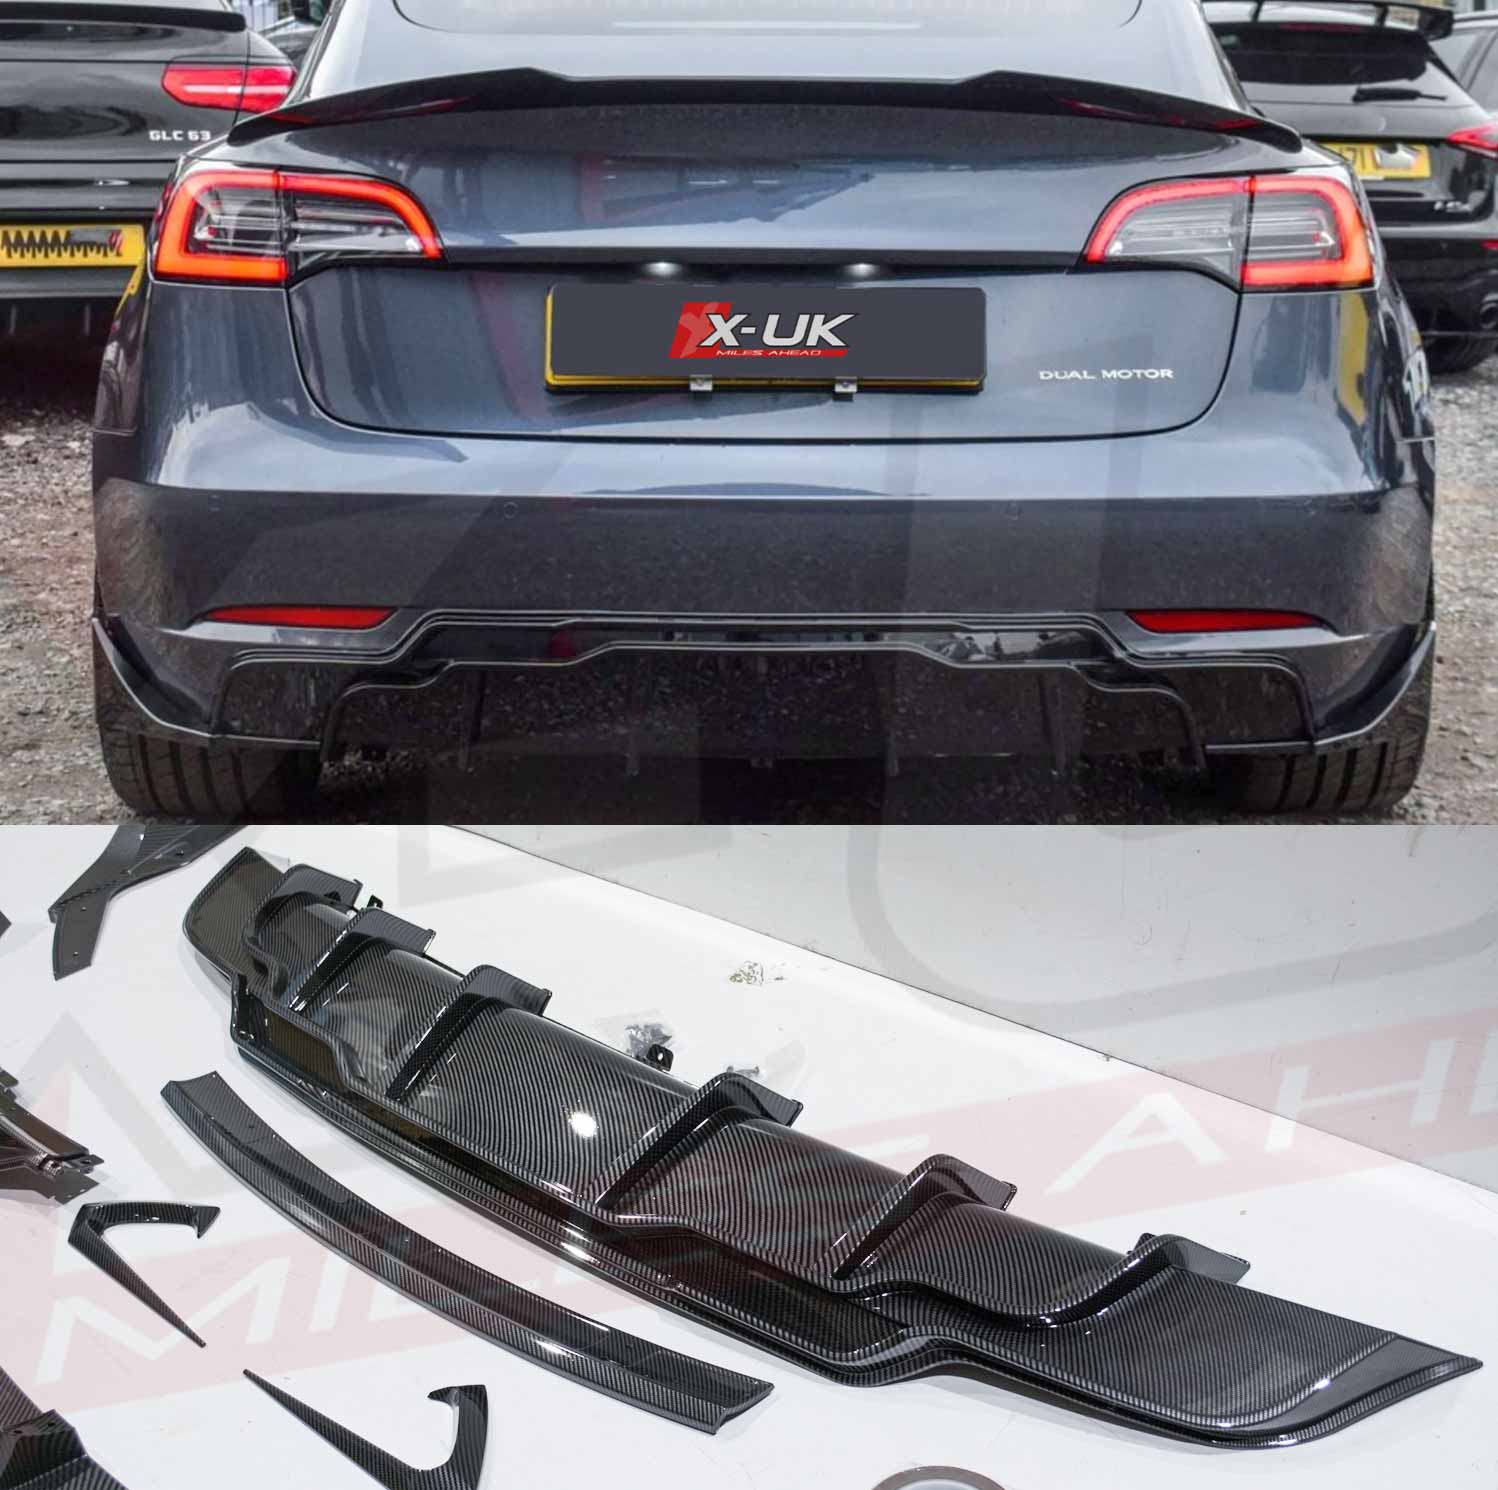
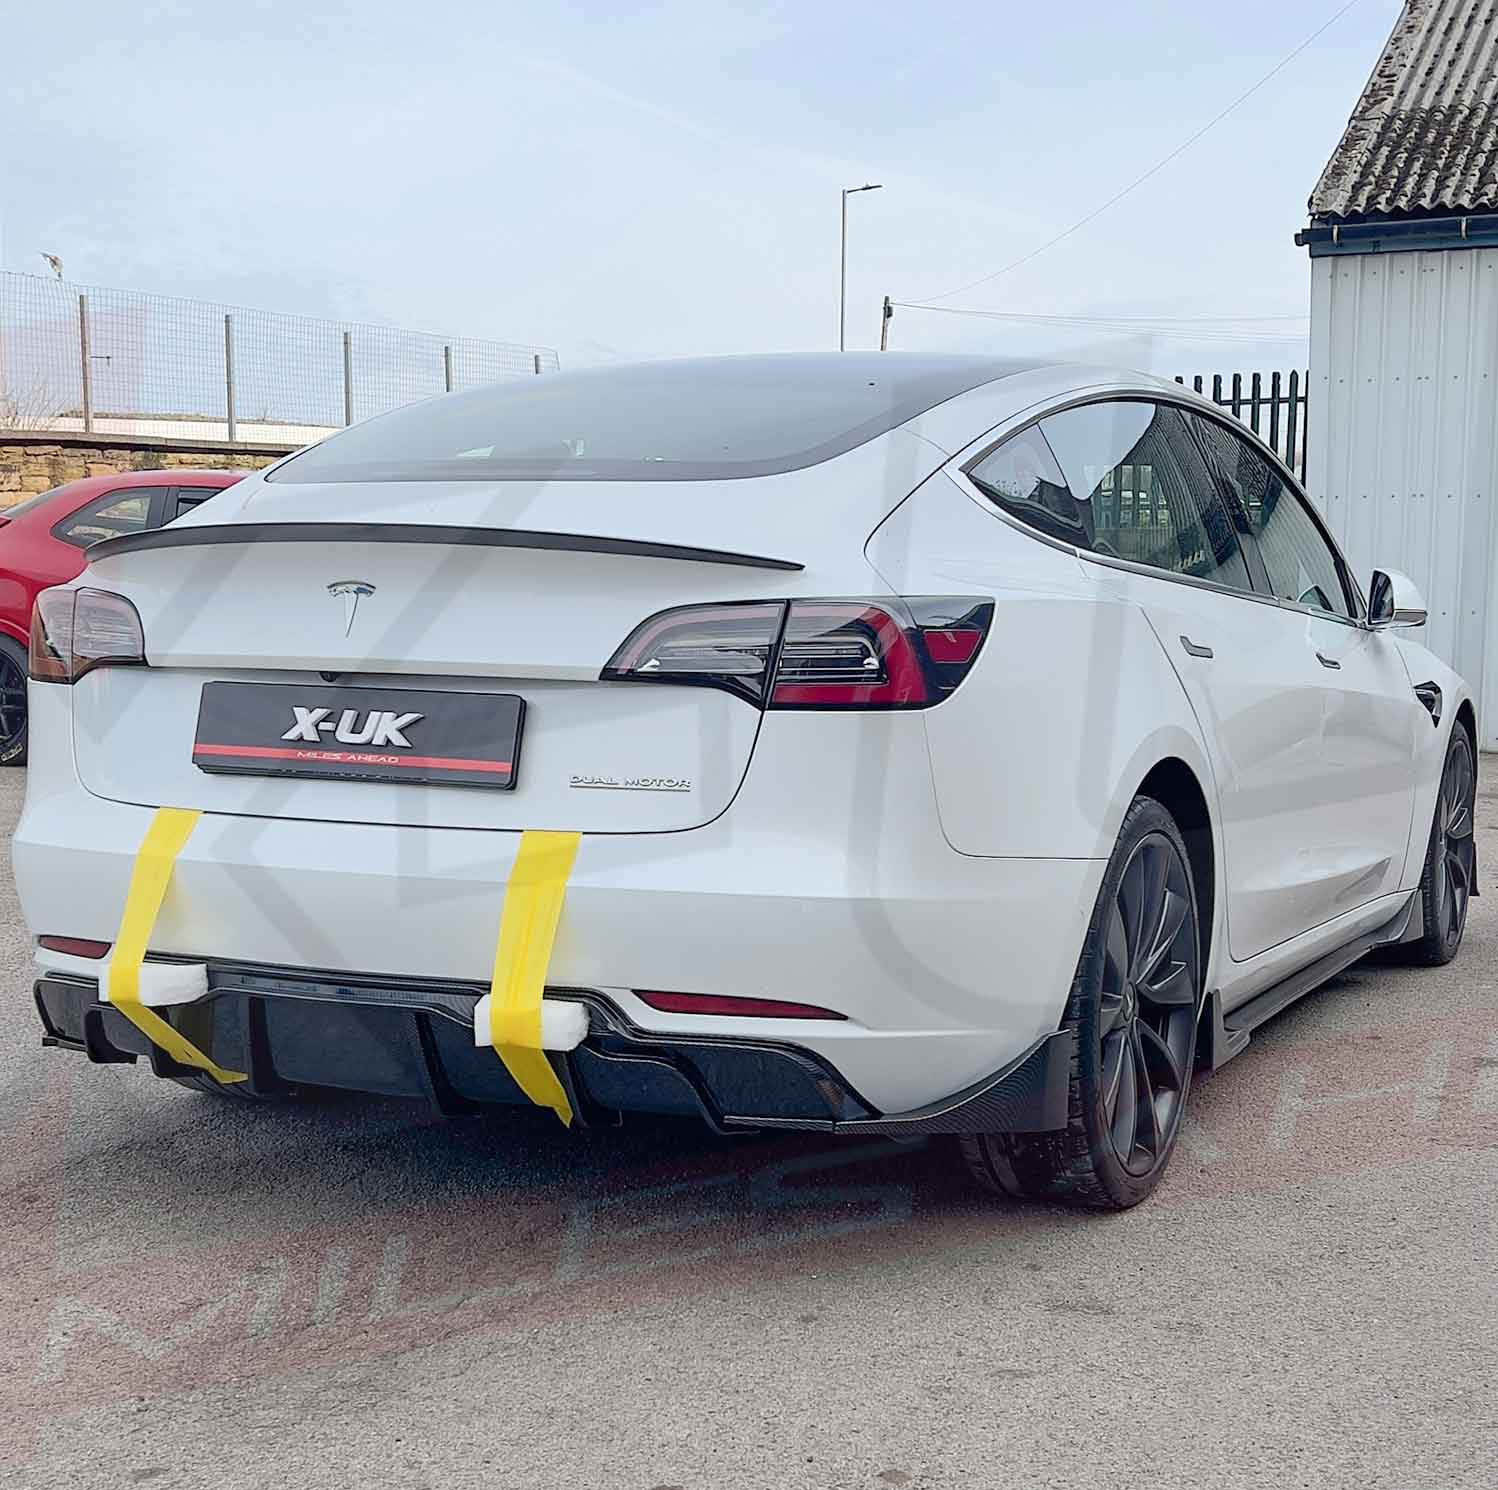
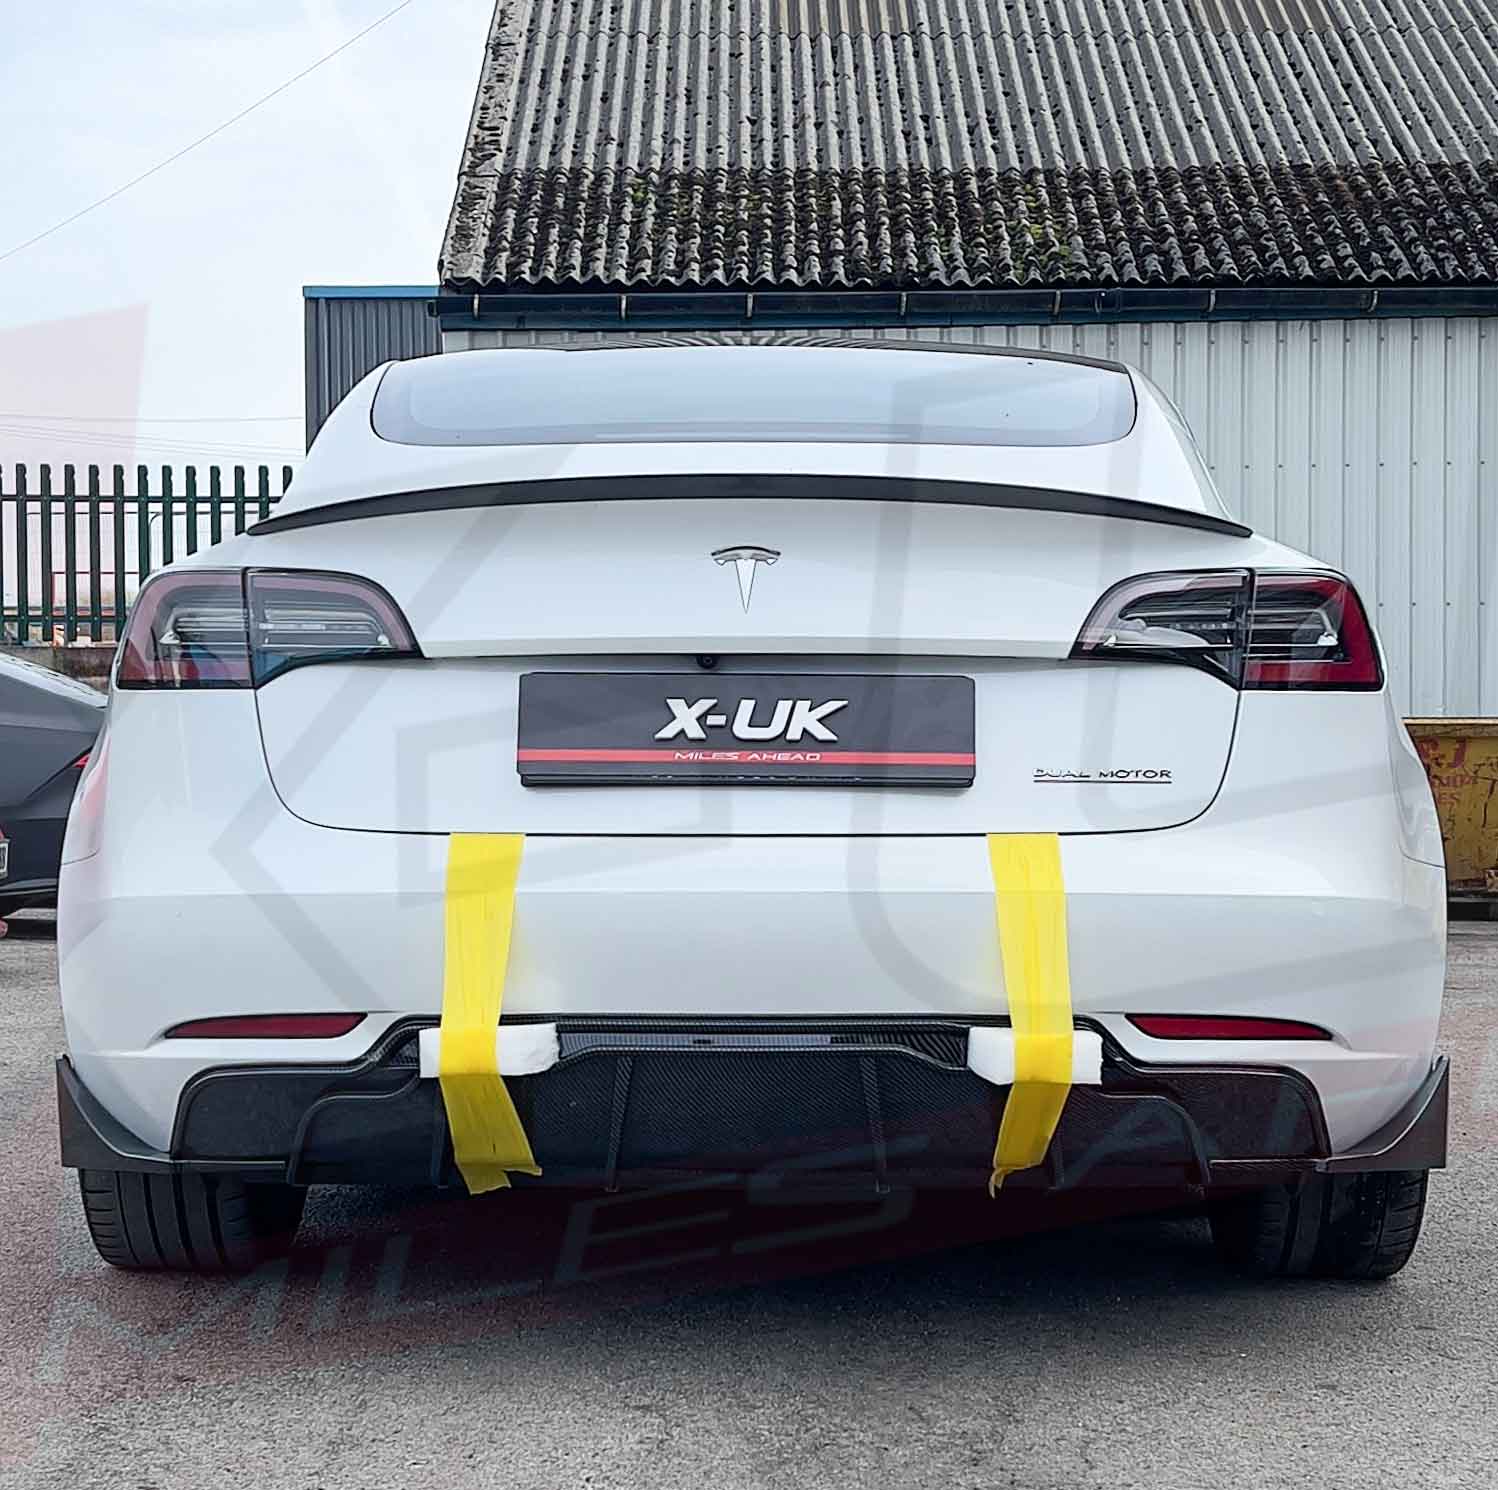
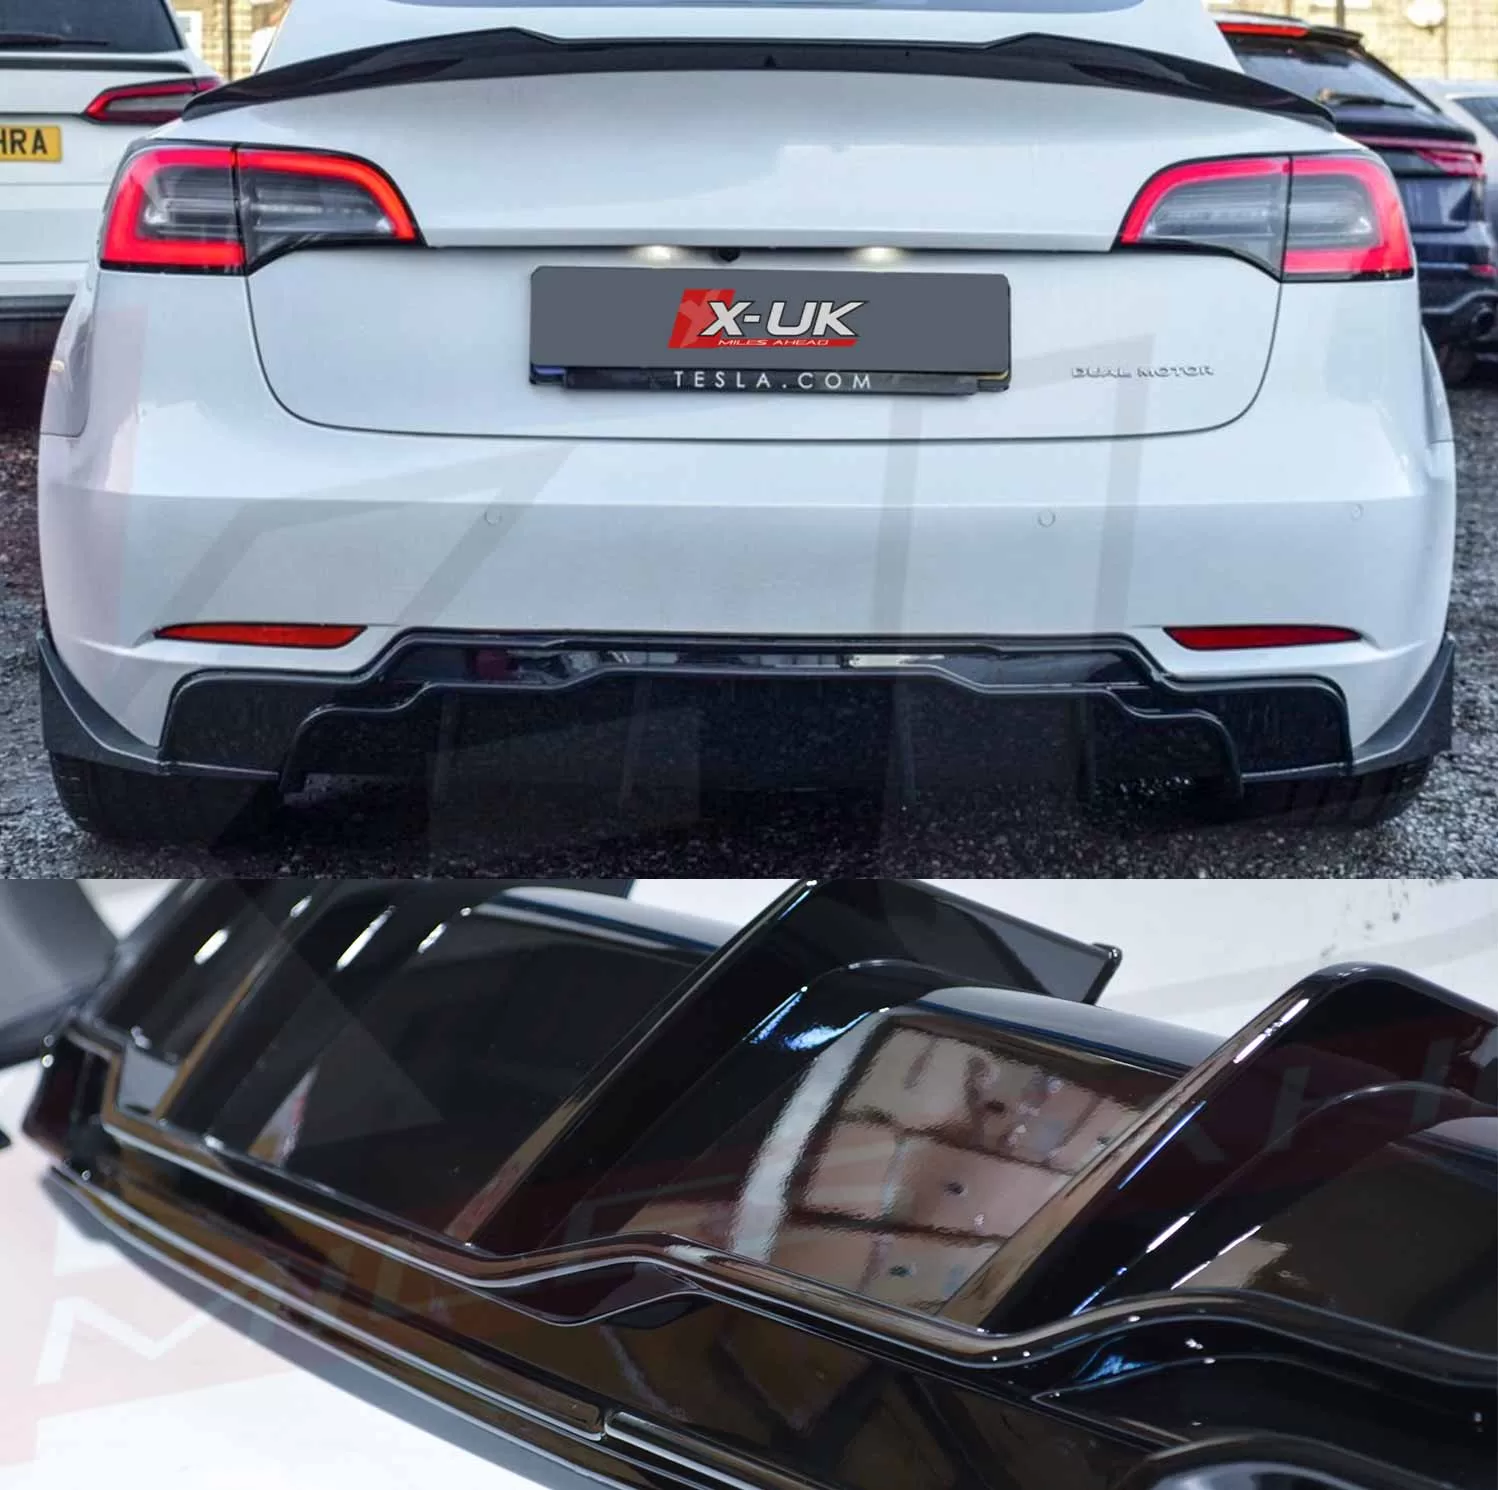
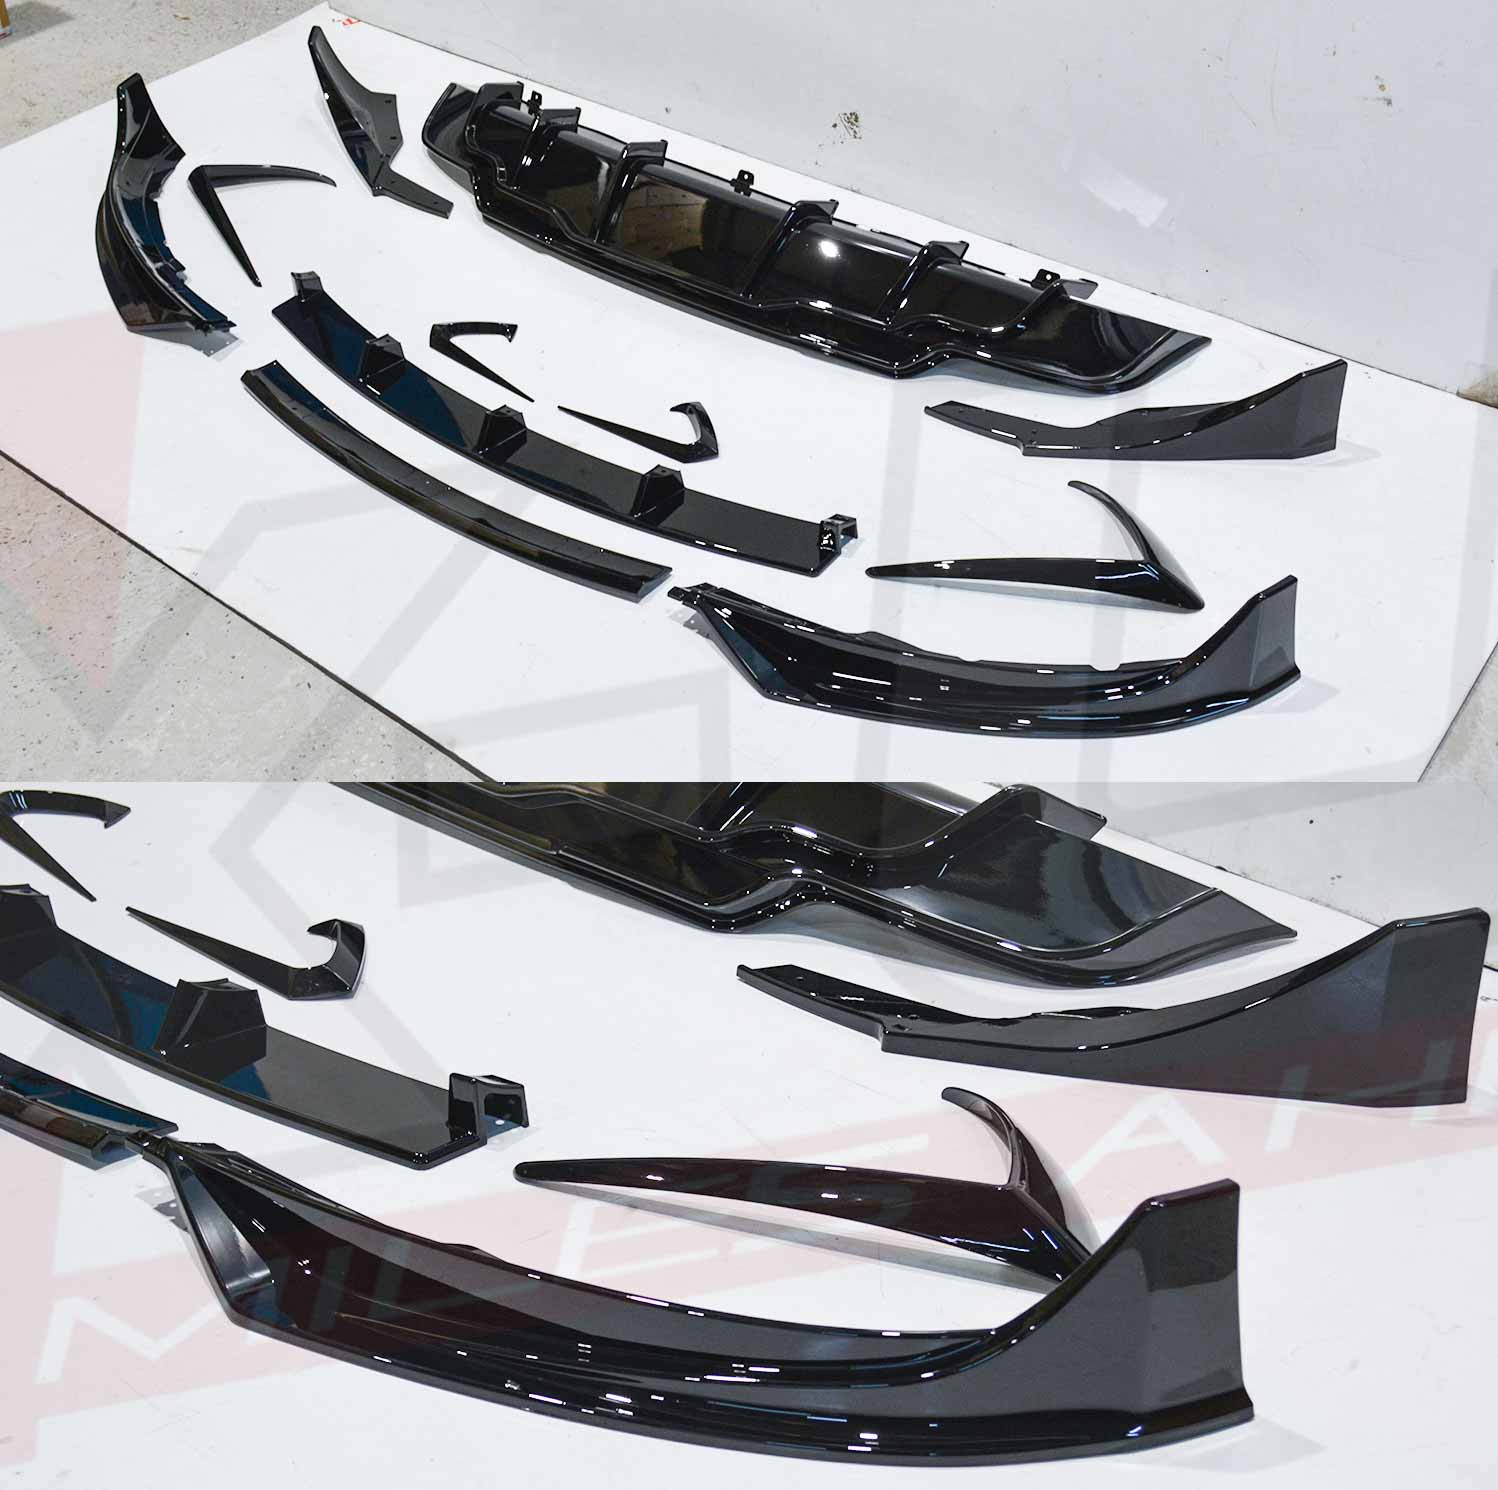
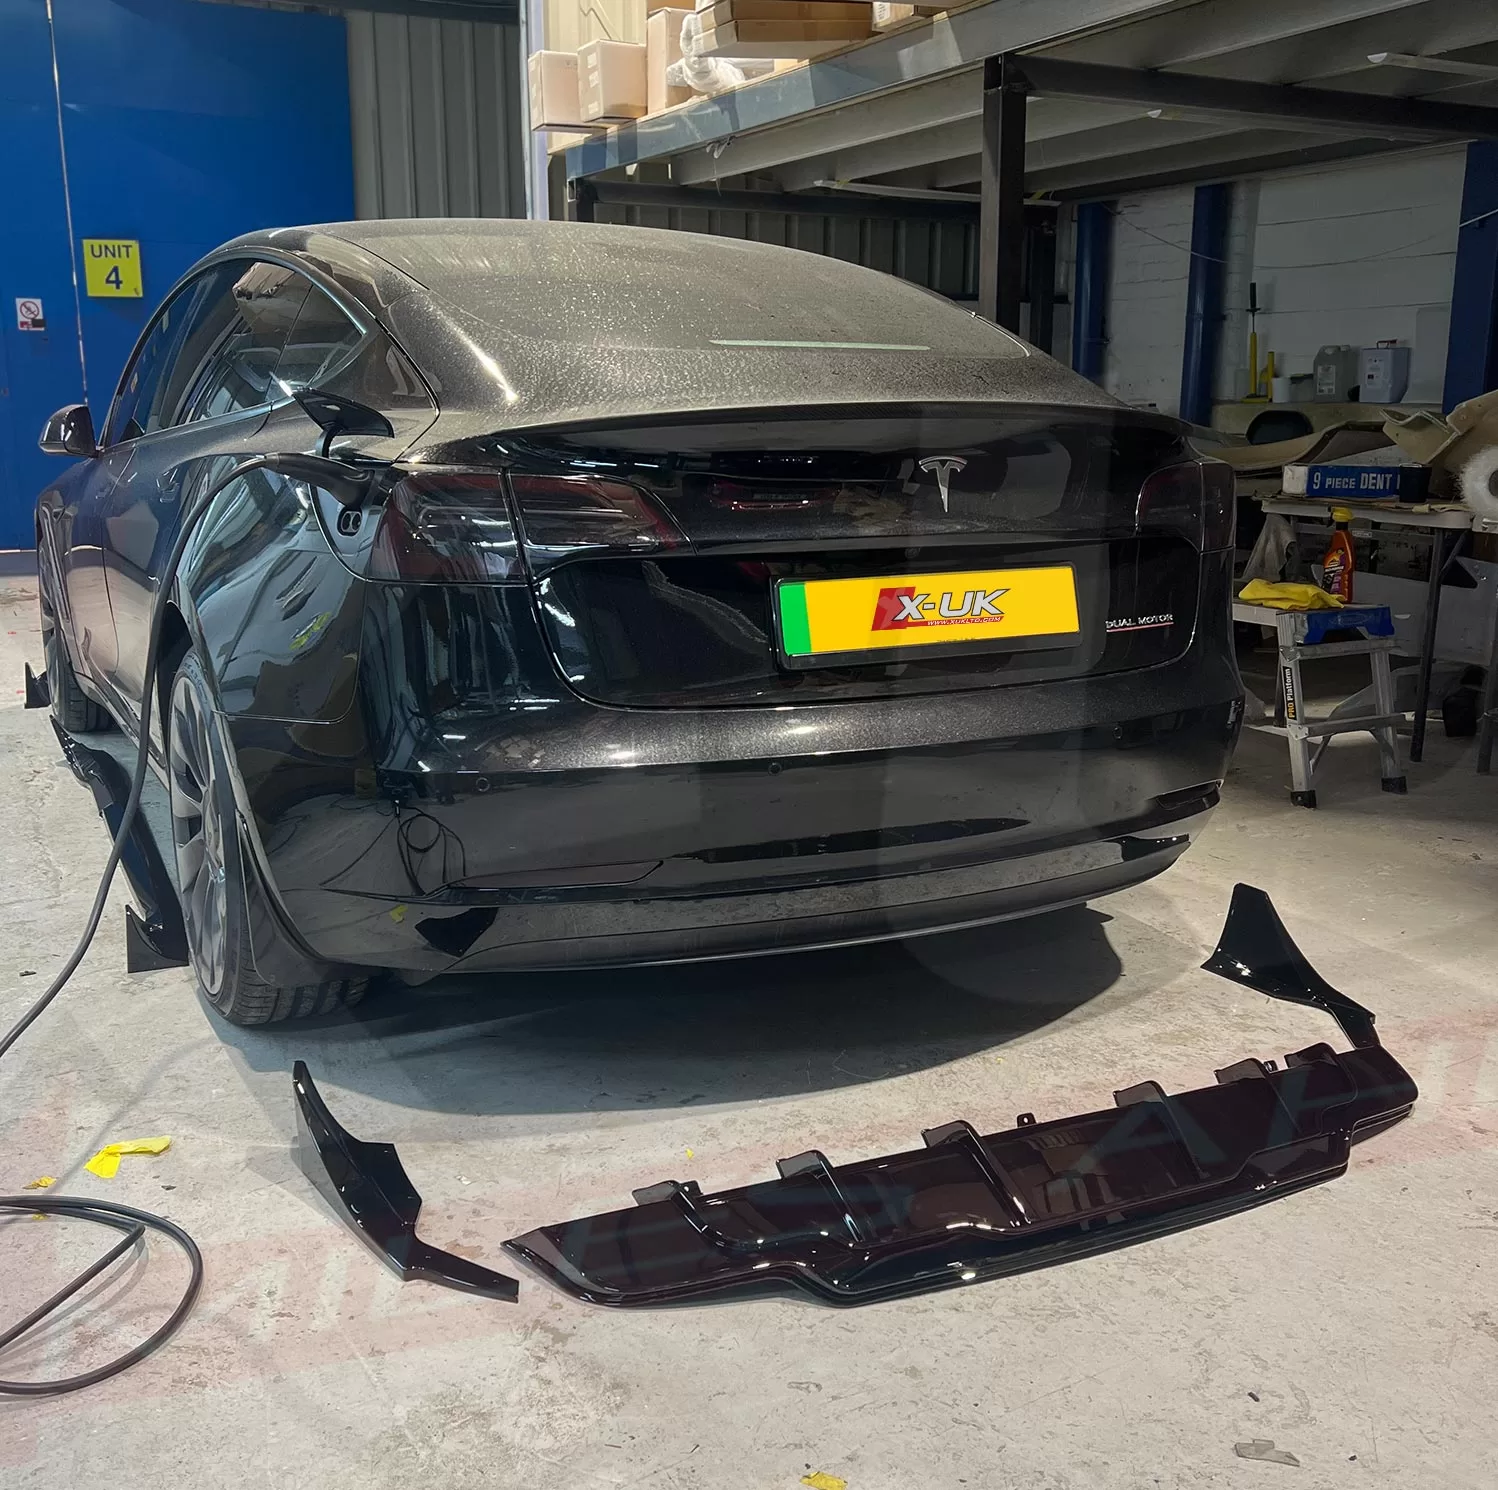
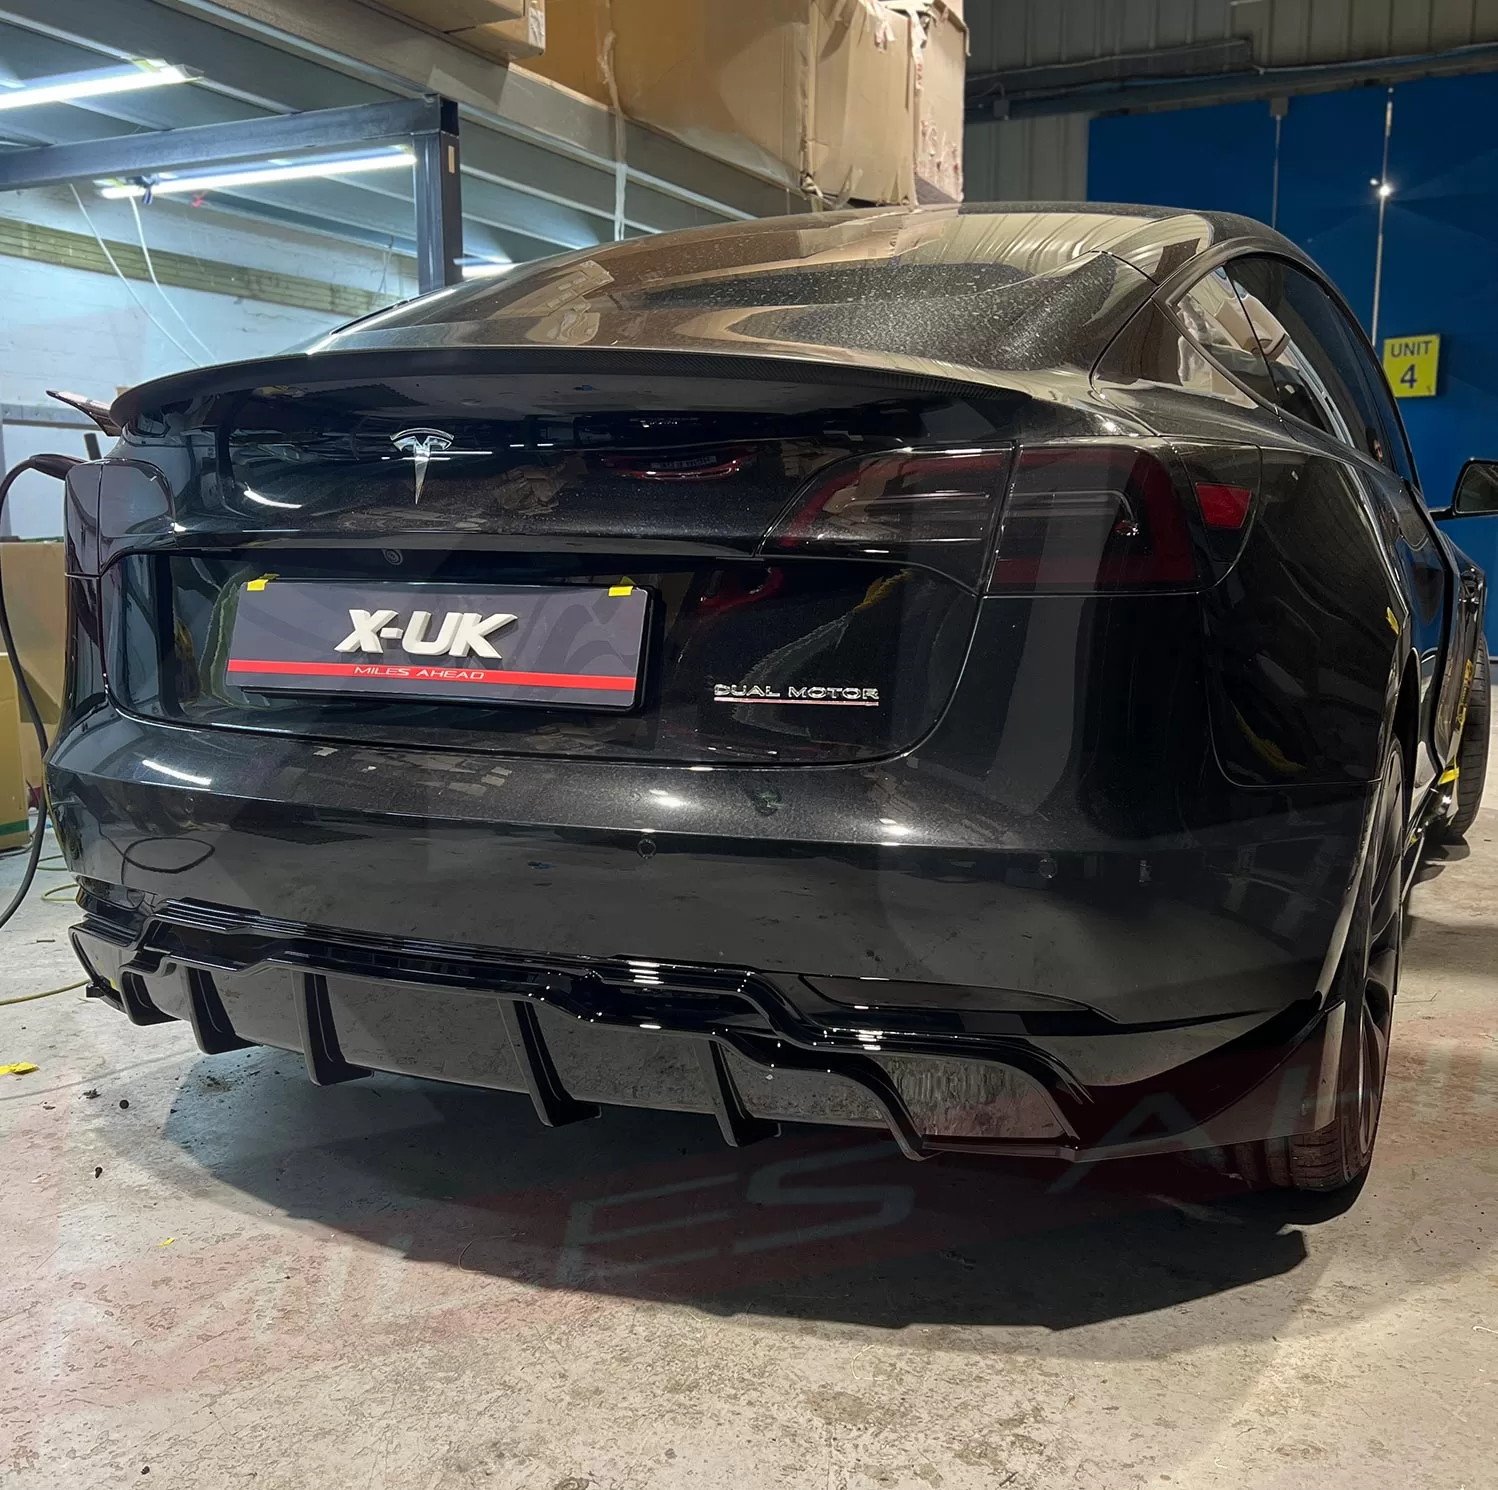
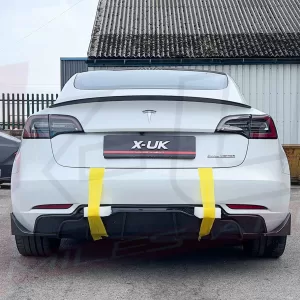
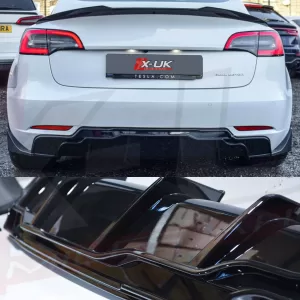
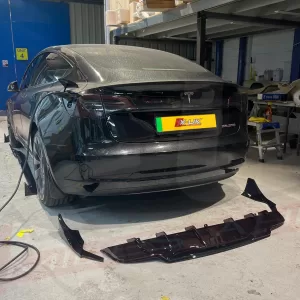
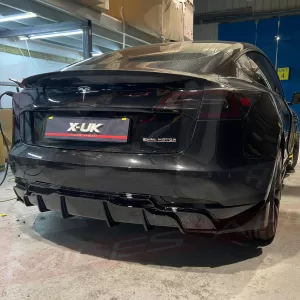
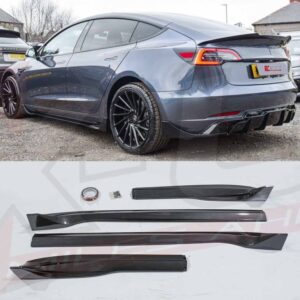
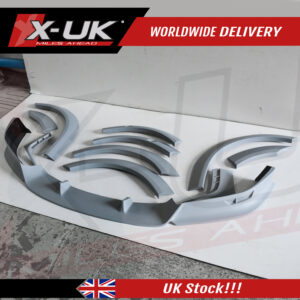
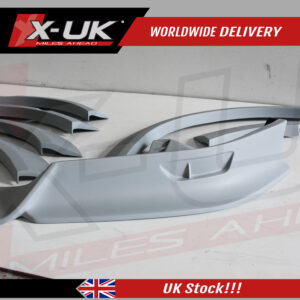
Tesla Model 3 rear diffuser valance 2017-2021
£124.99 – £199.99
SKU: N/A Categories: MODEL X I MODEL 3, Tesla
Transform the look of your Tesla Model 3 (2017-2021) from the rear with our stylish rear diffuser.
ITEM DESCRIPTION:
- Our rear diffuser for the Tesla Model 3 2017-2021 is manufactured from ABS plastic.
- It comes with two different finishes:
- Gloss black.
- Carbon fiber look “hydro dip”.
INSTALLATION:
Transform your Tesla Model 3’s aesthetics with a sleek rear diffuser valance! This guide outlines the installation process using automotive silicone and screws for a secure fit.
Disclaimer: This guide is for informational purposes only. Professional installation is recommended for complex modifications.
Tools and Materials:
- Rear diffuser valance (ensure compatibility with your Model 3 year)
- Automotive silicone sealant
- Isopropyl alcohol (rubbing alcohol)
- Cleaning cloths
- Drill (optional, depending on the diffuser design)
- Screwdriver
- Phillips head screws (matching the diffuser’s screw holes)
- Painter’s tape (optional)
Installation:
1. Prepping the Workspace:
- Find a clean, well-lit workspace with ample ventilation.
- Park your Model 3 on a level surface and engage the parking brake.
2. Cleaning the Surface:
- Thoroughly clean the underside of your Model 3’s rear bumper where the diffuser will be attached.
- Use a cleaning cloth and isopropyl alcohol to remove any dirt, grease, or debris that might affect adhesion.
3. Dry Fitting the Diffuser:
- Carefully line up the diffuser valance with the designated mounting points on your Model 3’s rear bumper.
- Ensure a snug fit and check for any necessary adjustments.
4. Applying Silicone (Optional):
- Apply a thin, continuous bead of automotive silicone sealant along the bonding surface of the diffuser that will connect to the bumper.
- Tip: Use painter’s tape to create clean lines and avoid over-application.
5. Securing the Diffuser:
- Carefully lift the diffuser and position it firmly onto the cleaned and prepared surface of the bumper.
- Apply gentle pressure to ensure proper contact with the silicone sealant.
6. Screw Installation (if applicable):
- Depending on your diffuser design, some models utilize screws for additional security alongside the silicone.
- Locate the pre-drilled holes on the diffuser and the corresponding mounting points on the underside of the bumper.
- Using a drill (if necessary) and screwdriver, secure the diffuser in place with the provided screws.
7. Curing Time:
- Refer to the specific curing instructions for your chosen automotive silicone sealant.
8. Final Touches:
- Once fully cured, remove any excess silicone sealant with a cleaning cloth and isopropyl alcohol.
- We strongly recommend professional installation by experienced technicians who are well-versed in automotive upgrades.
- For any additional questions or assistance, don’t hesitate to contact our dedicated support team. We’re here to help you make the most of your automotive upgrade experience.
FITMENT:
- Tesla Model 3 2017-2021.
DELIVERY:
- We deliver worldwide.
- For swift delivery, please place your order before 2:00 pm, ‘UK local time,’ and we’ll dispatch it on the very same day. Alternatively, if you place orders after 2:00 pm, we will promptly process and send them out on the next working day, ensuring a seamless shopping experience for you.
- If you want an exact delivery price, please email us at xenonzuk@gmail.com with your full postal address and we will give you a quotation.
| Weight | 10 kg |
|---|---|
| Dimensions | 195 × 72 × 25 in |
| Diffuser Finish | Gloss black, Carbon look (hydrographic) |
Reviews
There are no reviews yet.
Only logged in customers who have purchased this product may leave a review.
Related products
£99.99 – £119.99
Sale!
£159.99 – £209.99
Sale!
£399.99 – £449.99
£3,059.99
£2,229.99

