No products in the cart.
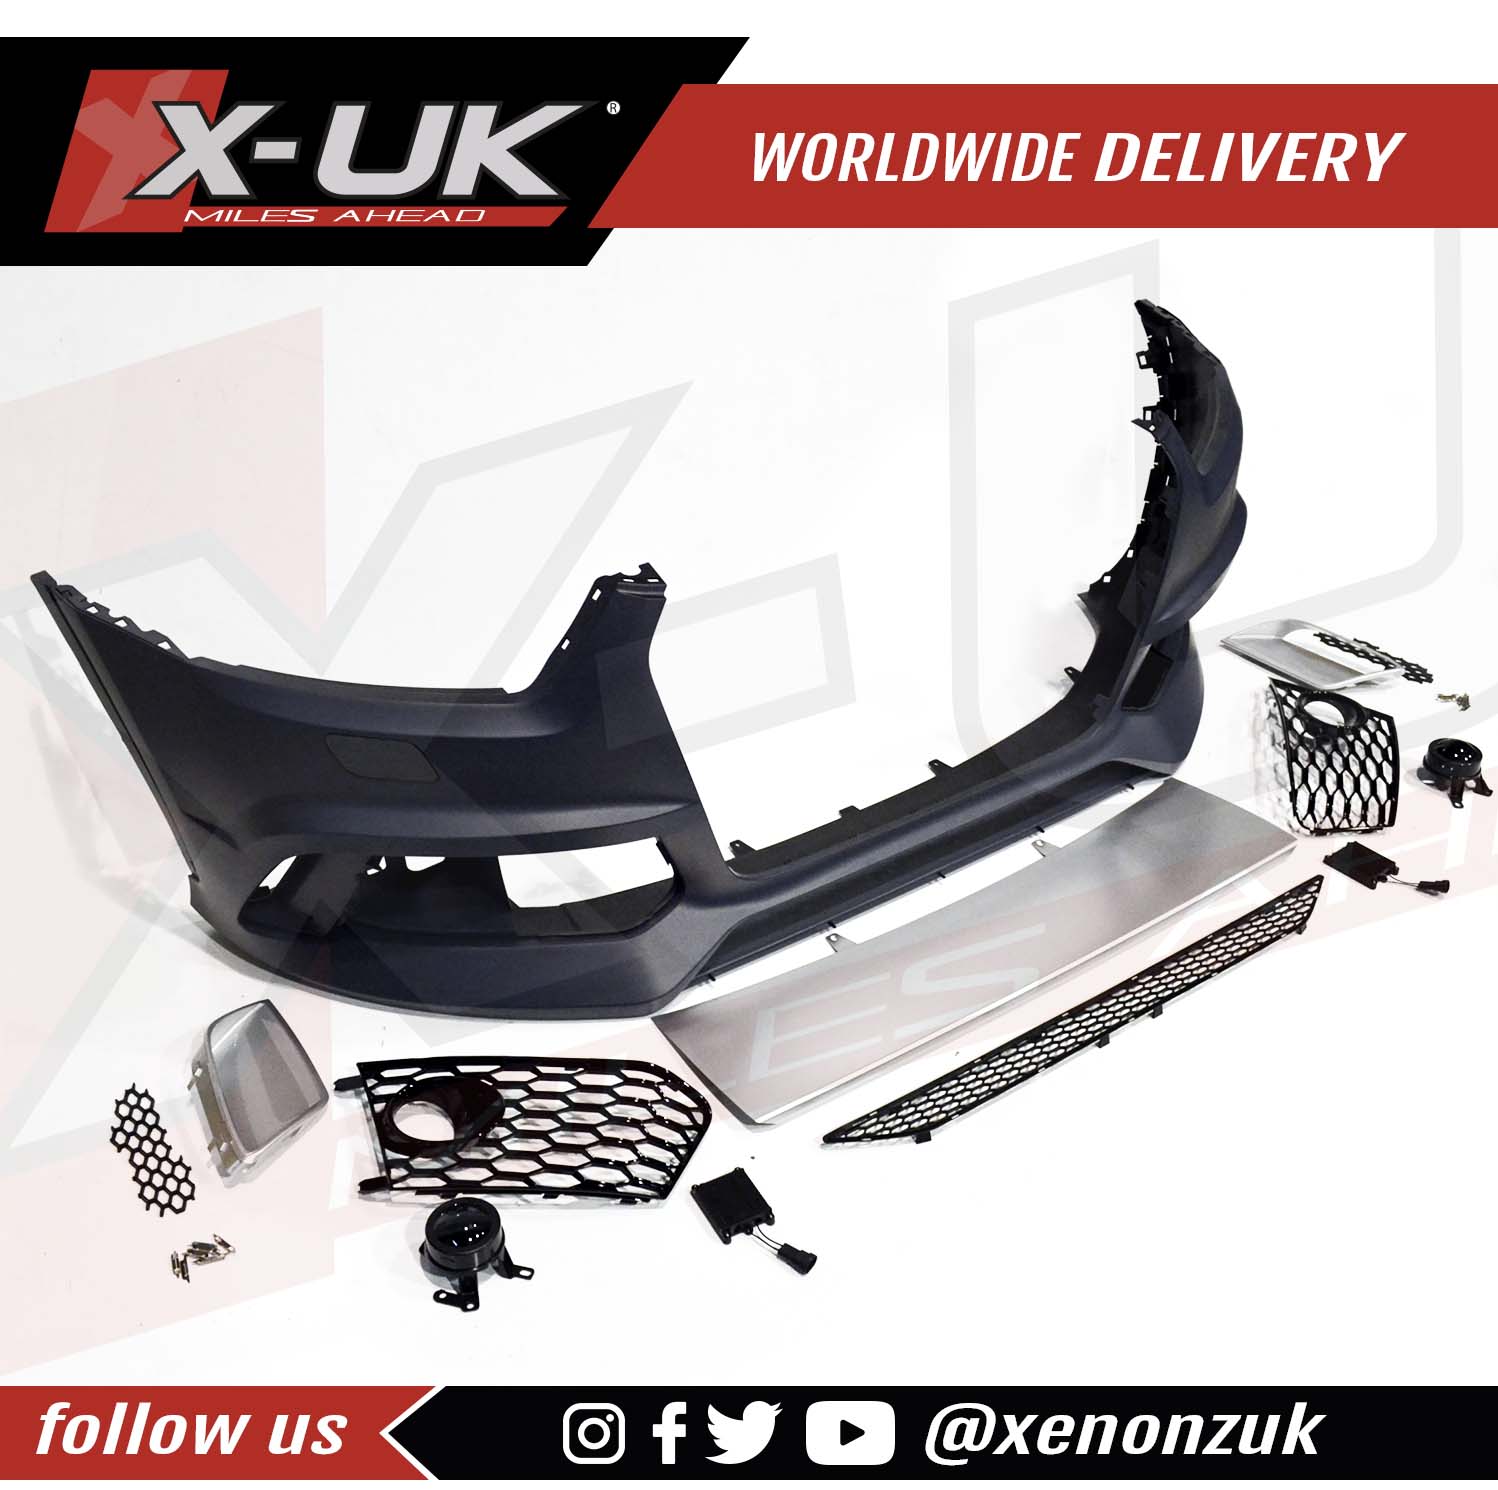
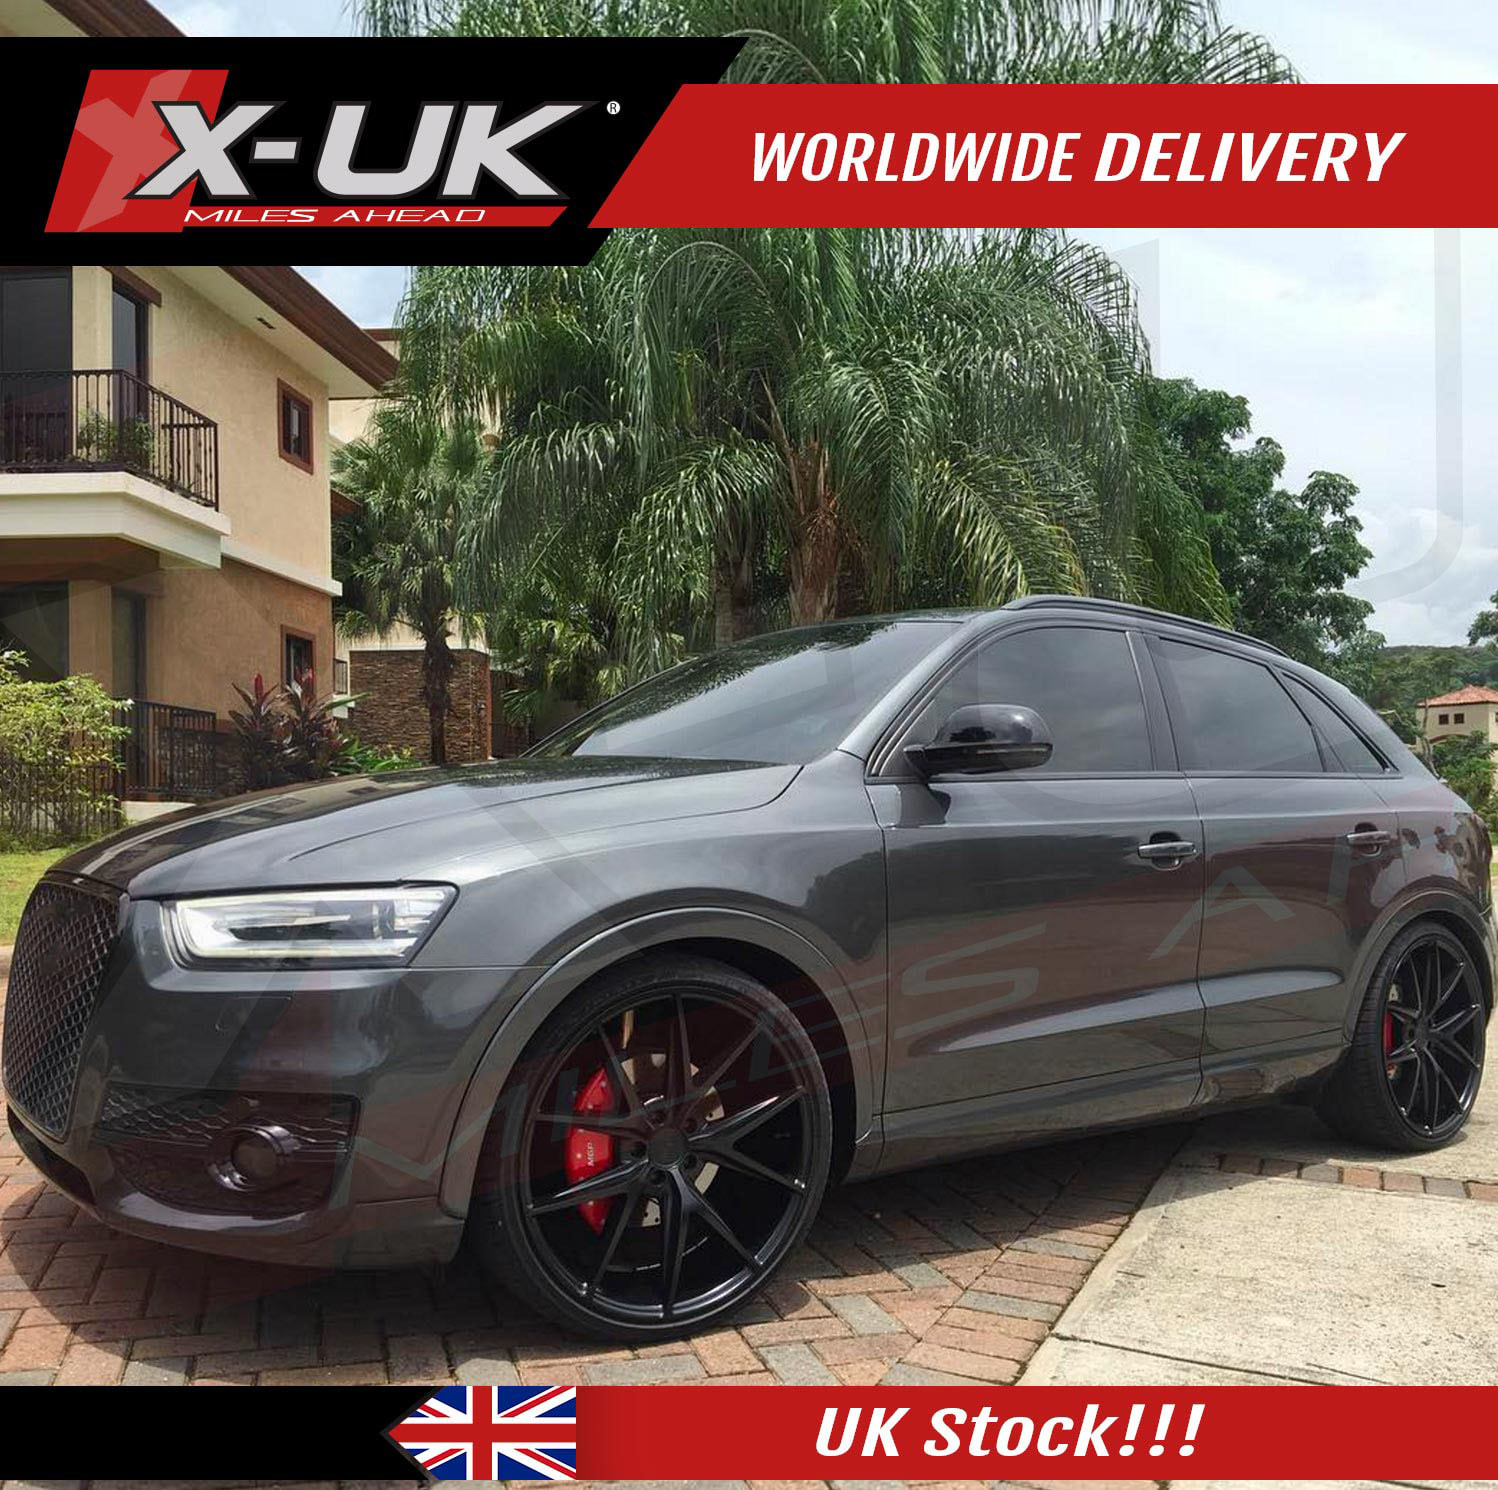
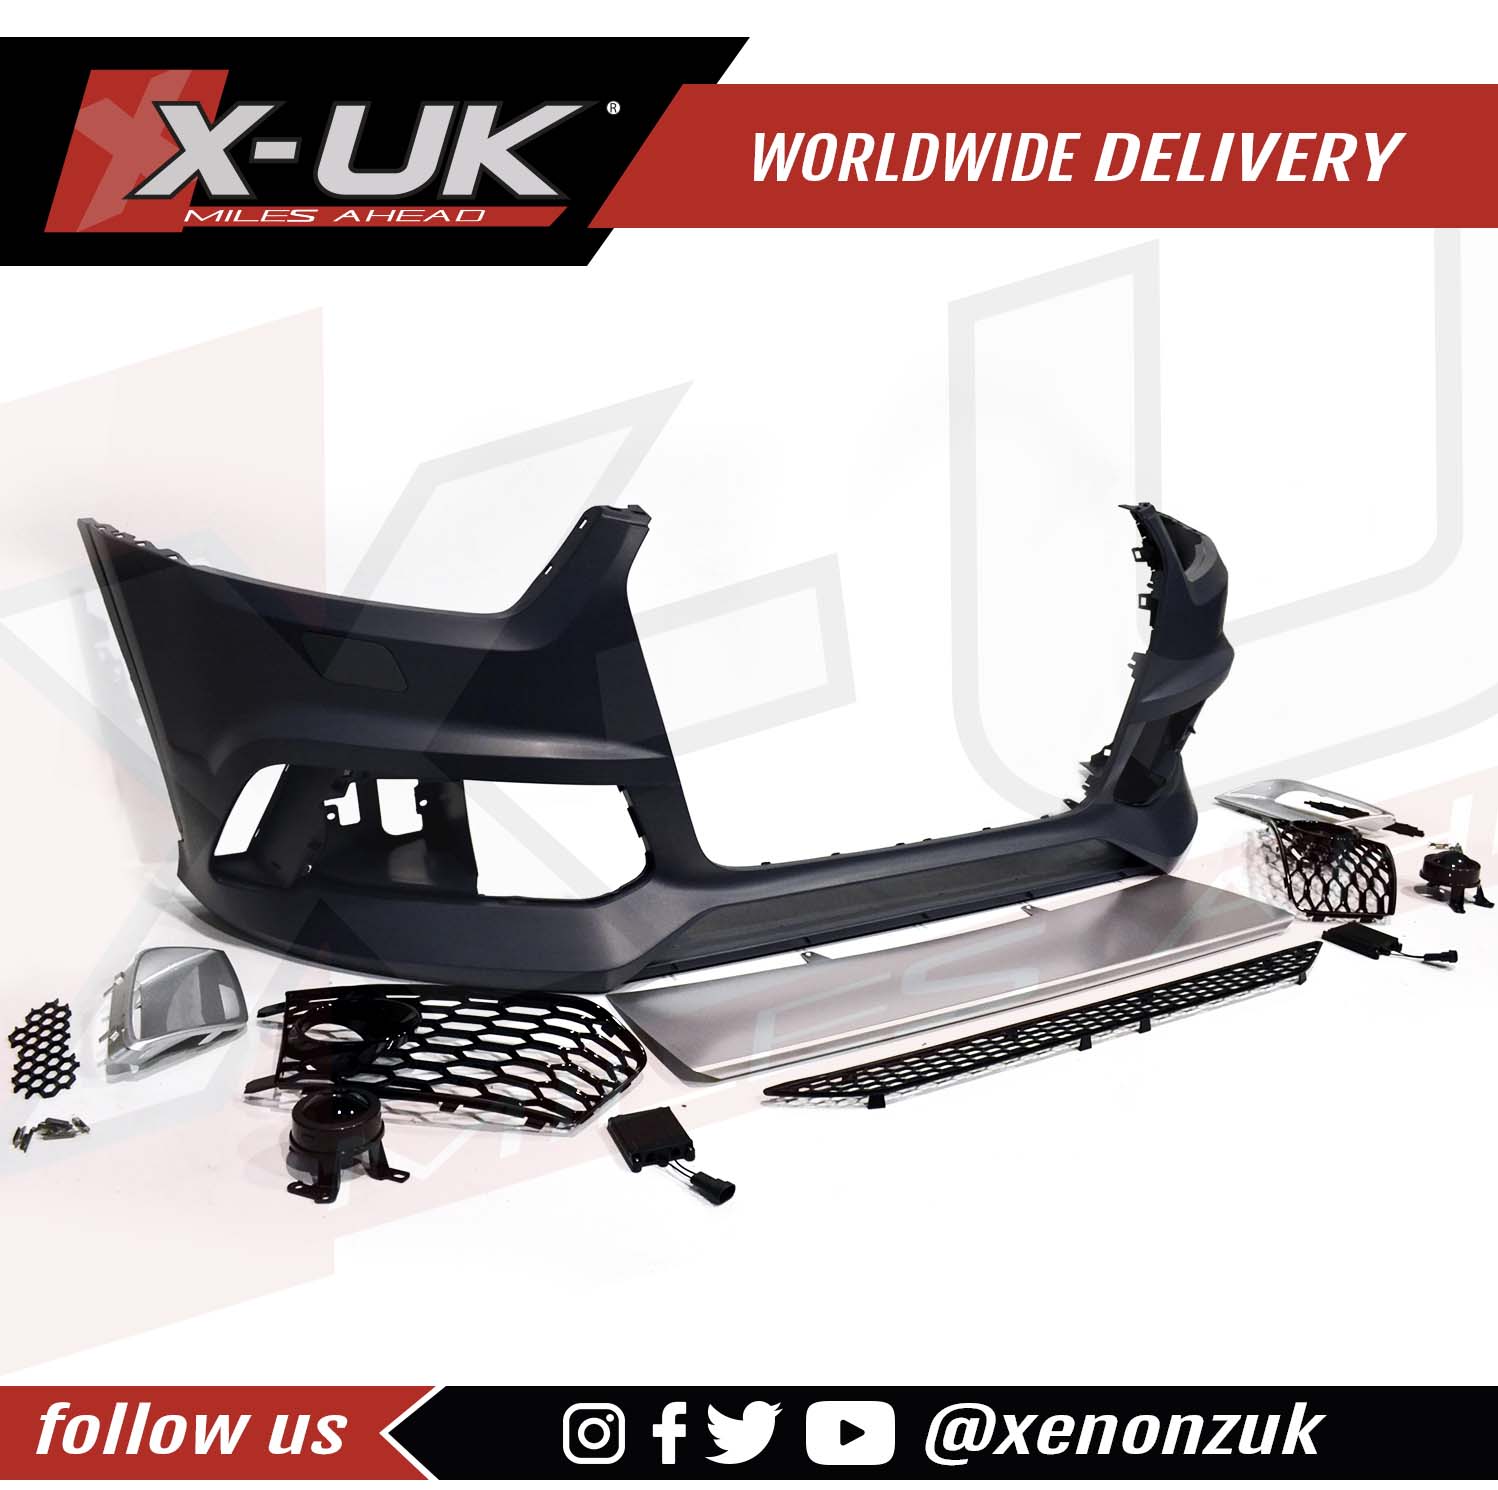
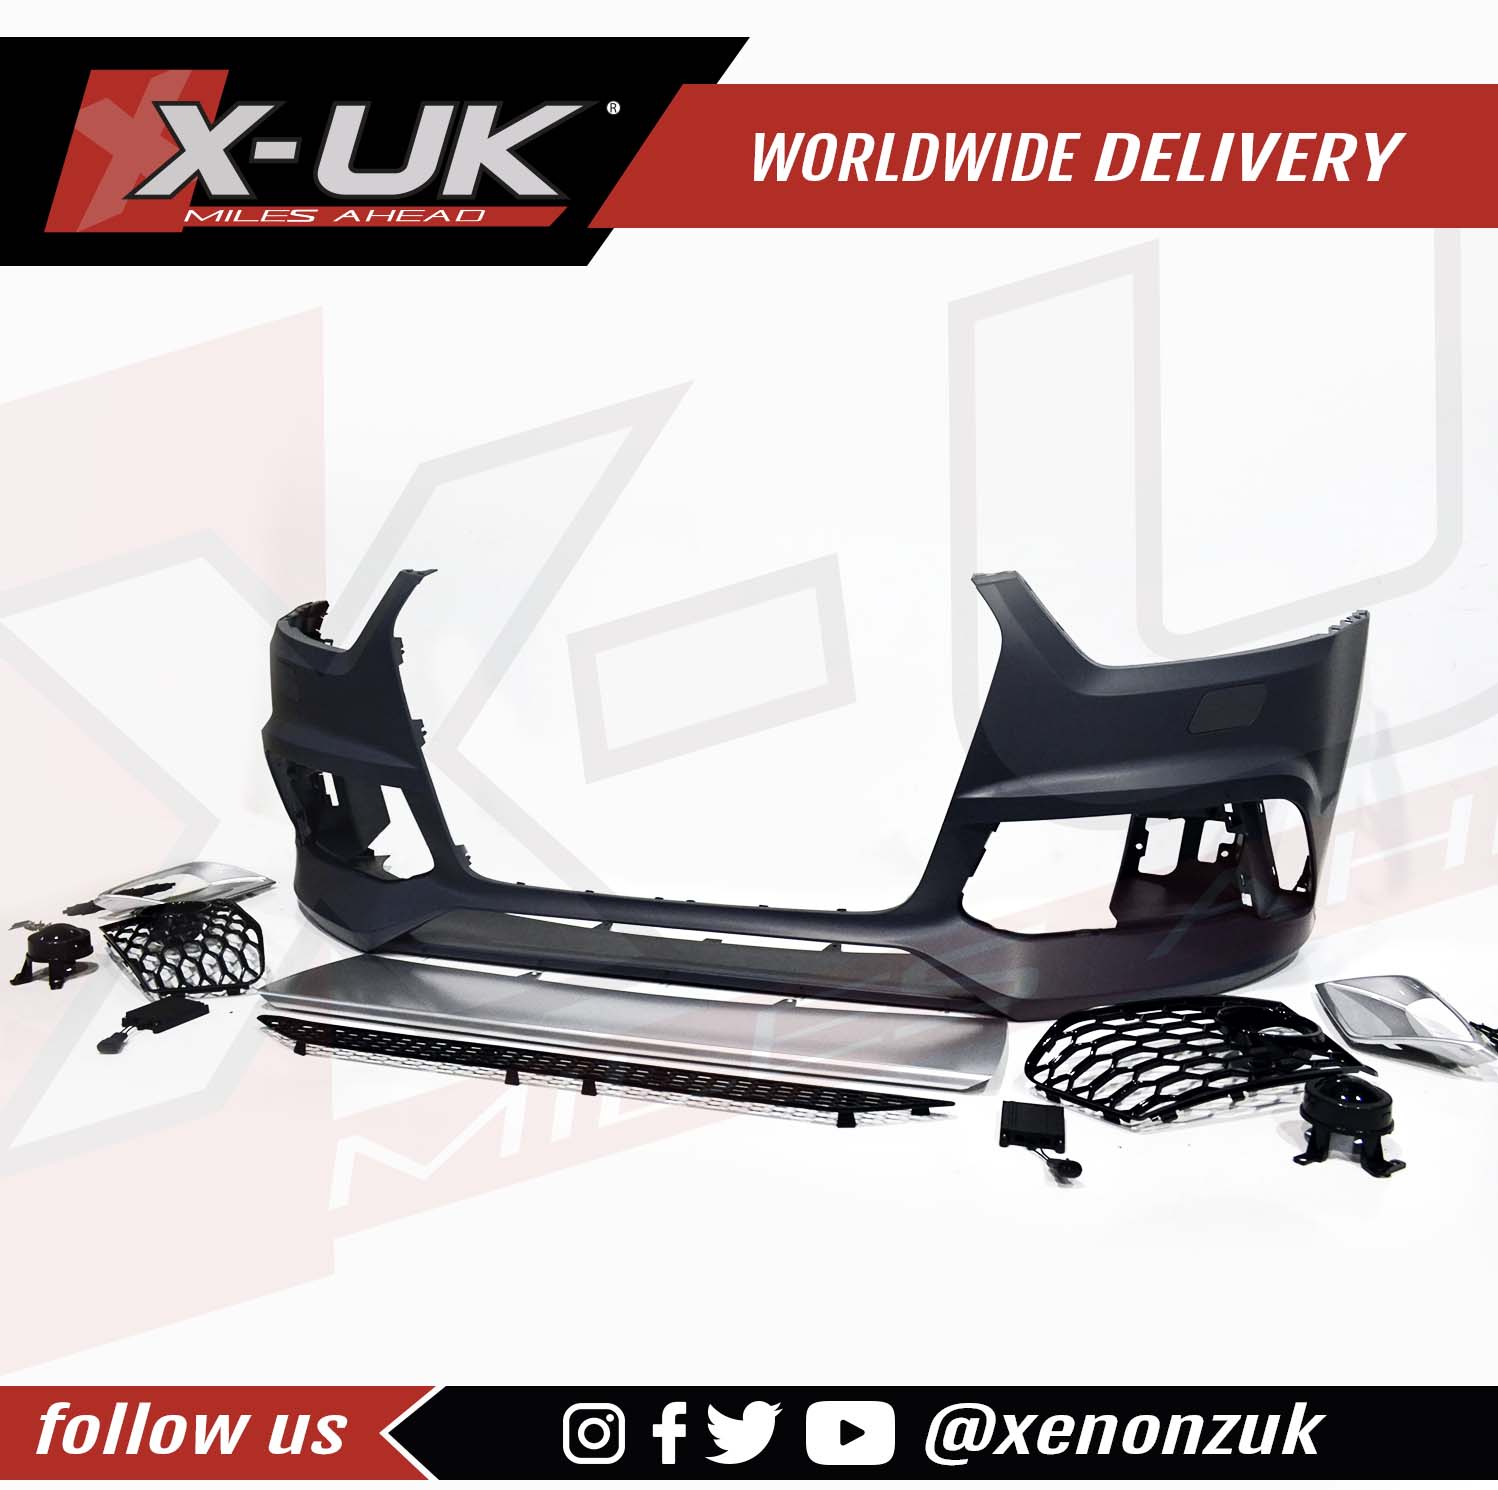
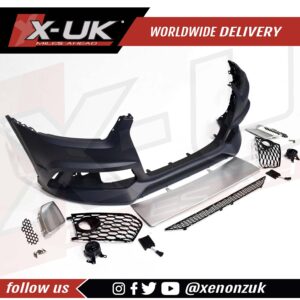
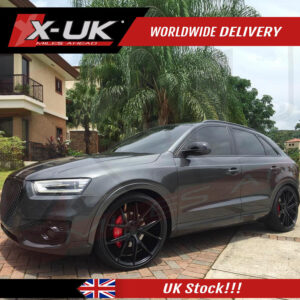
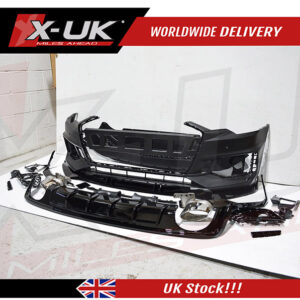
Audi RSQ3 style front bumper conversion for Audi Q3 SQ3 2011-2017
£699.99 – £839.99
SKU: N/A Categories: Audi, Audi Q3 / SQ3 "8U" 2011-2017, Front Grills / Front Bumpers
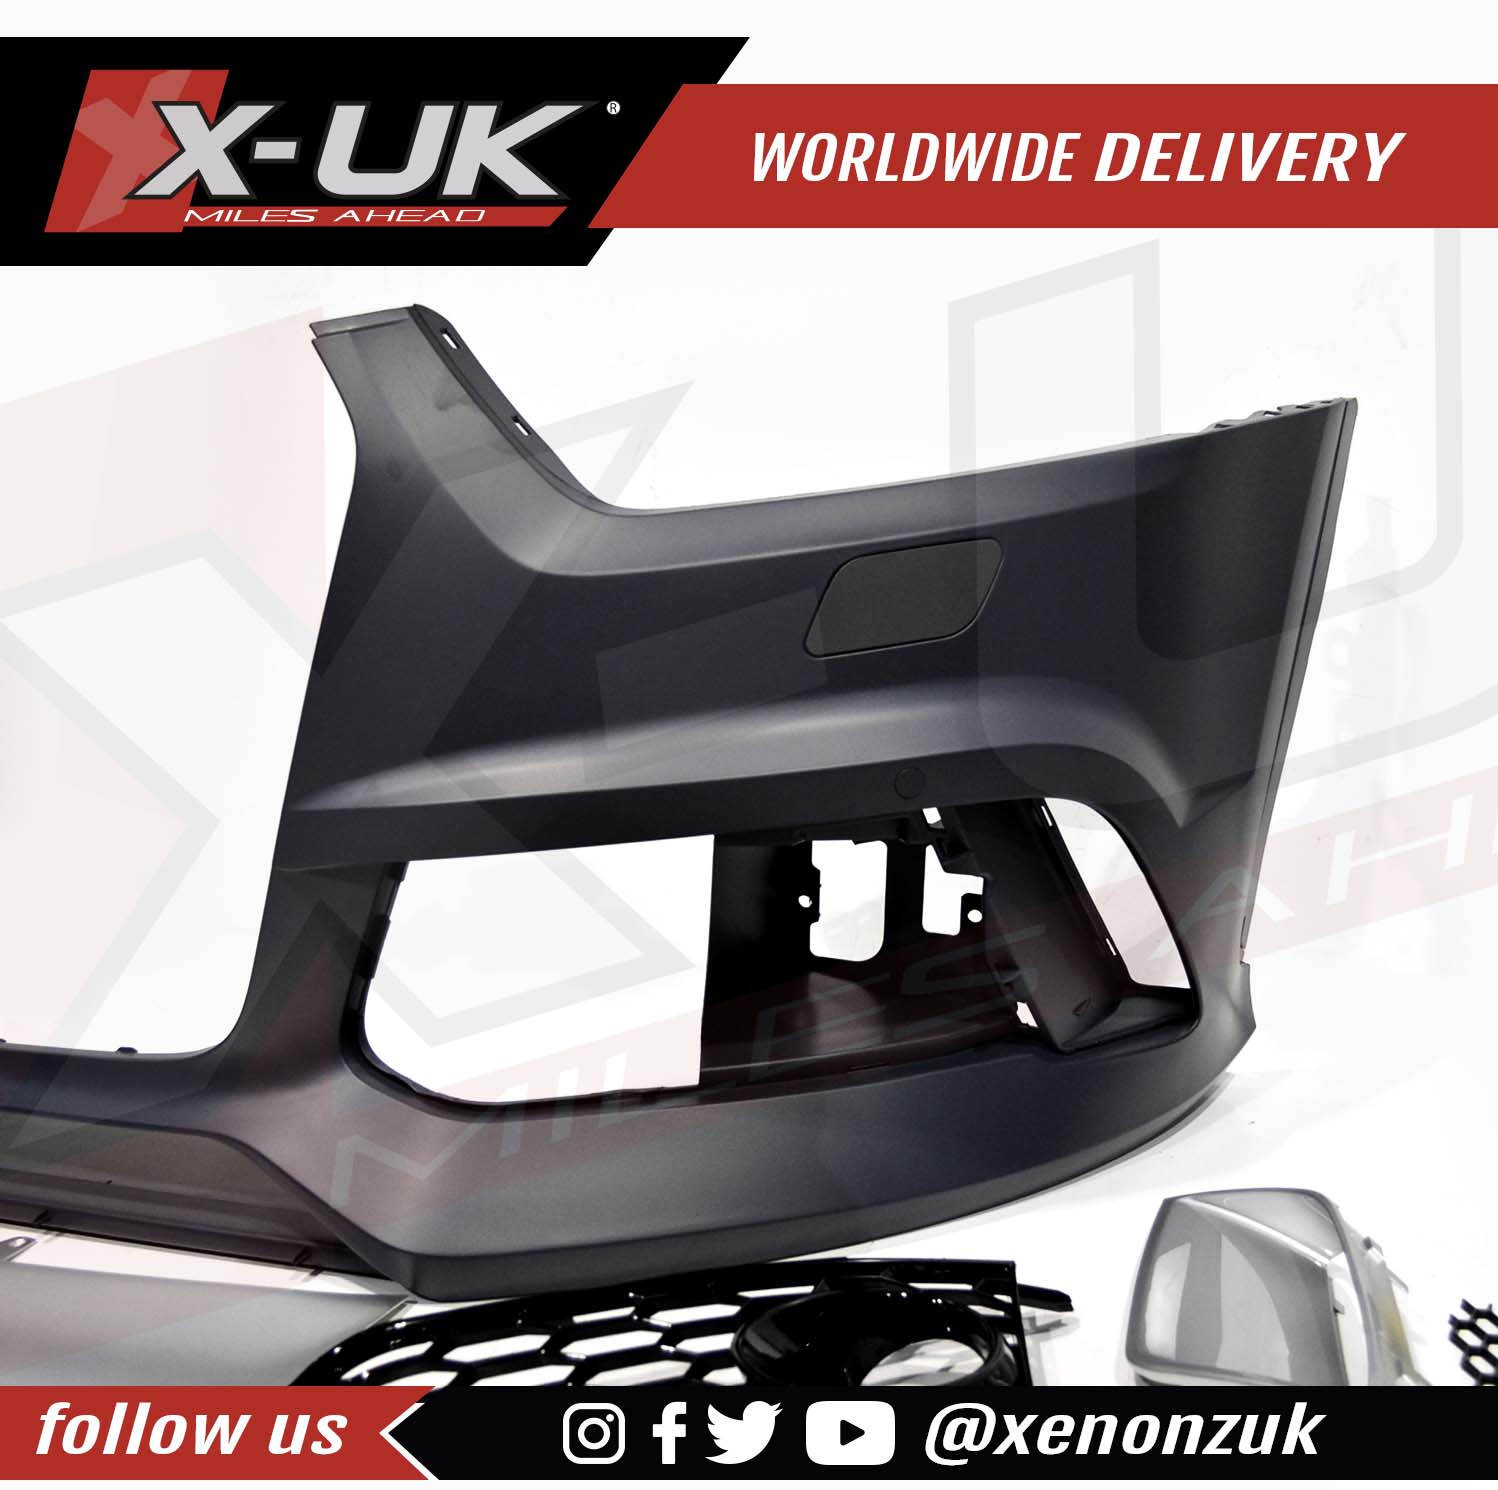
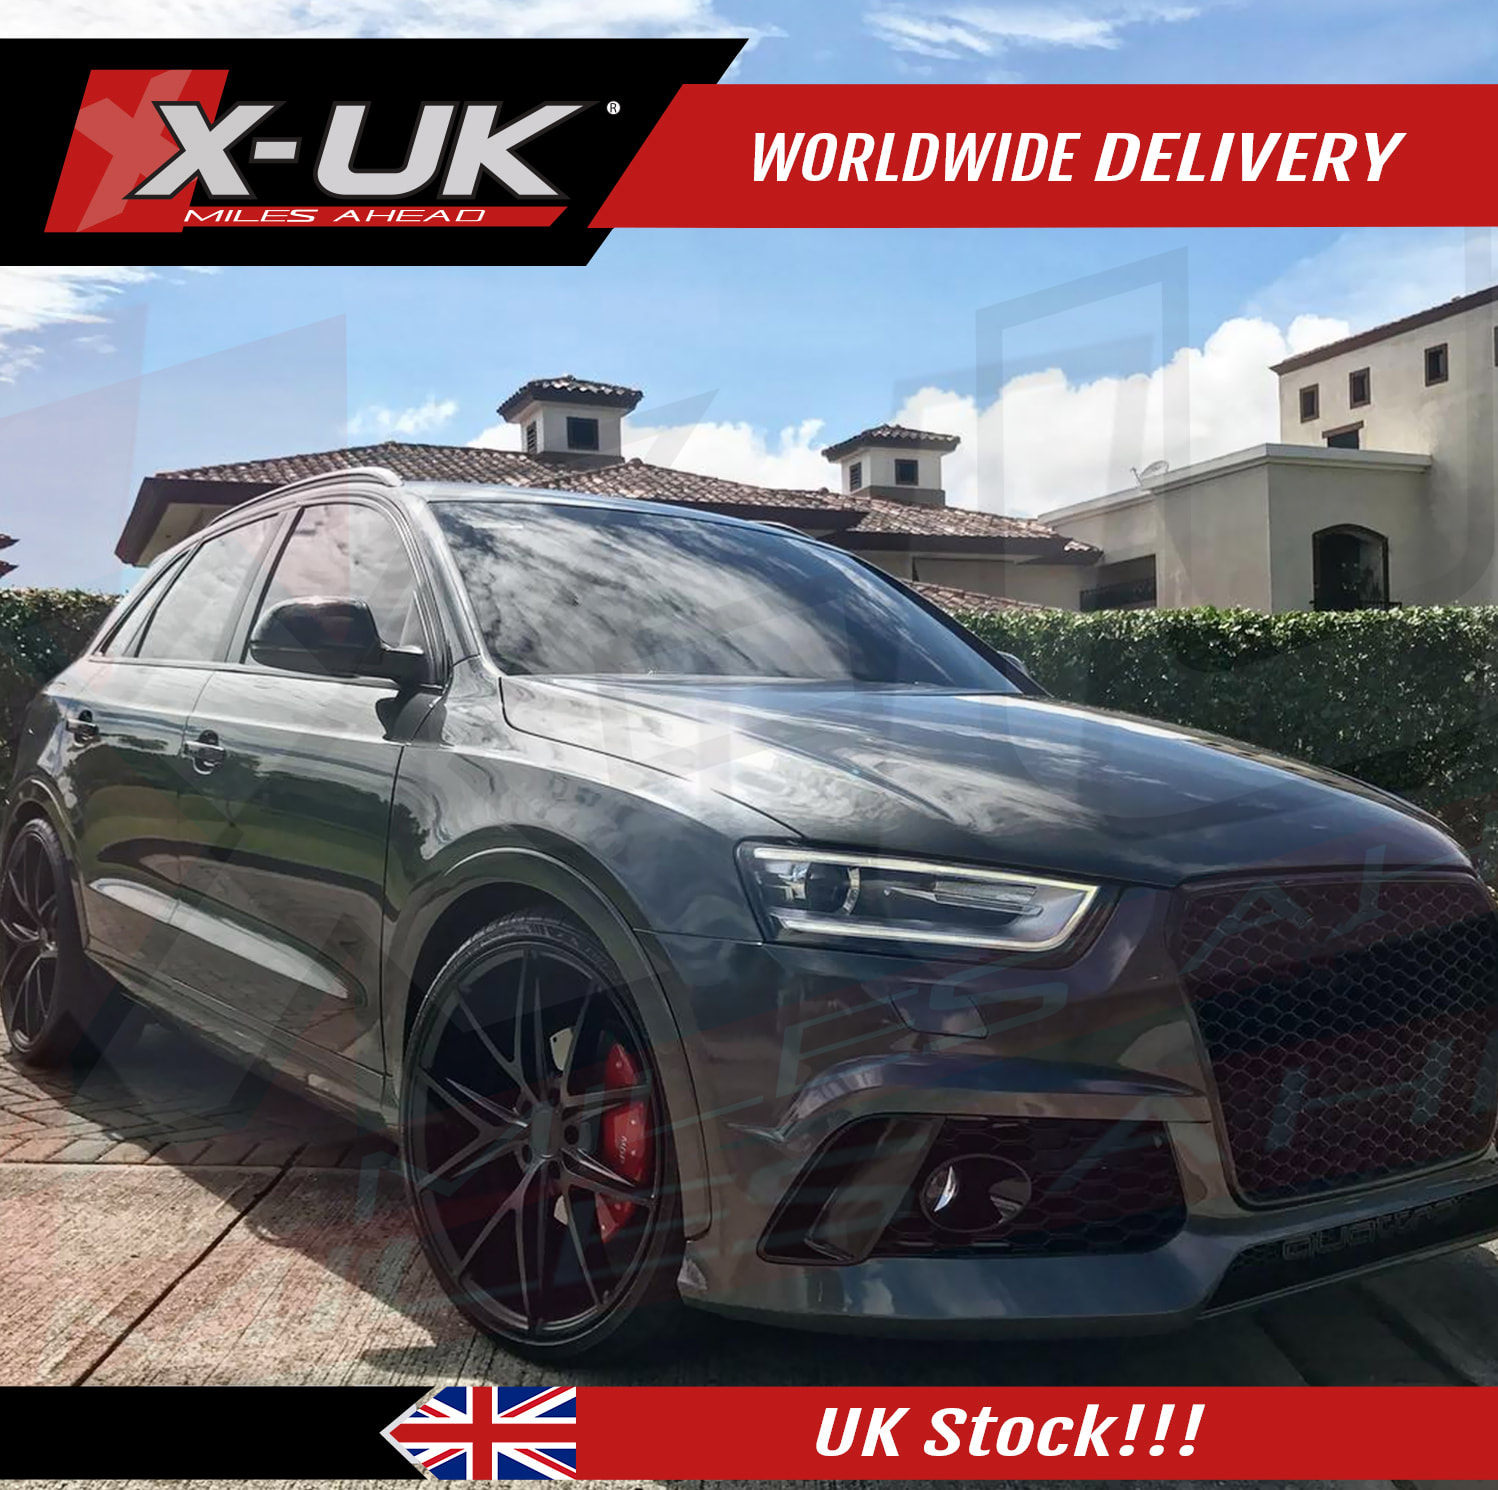
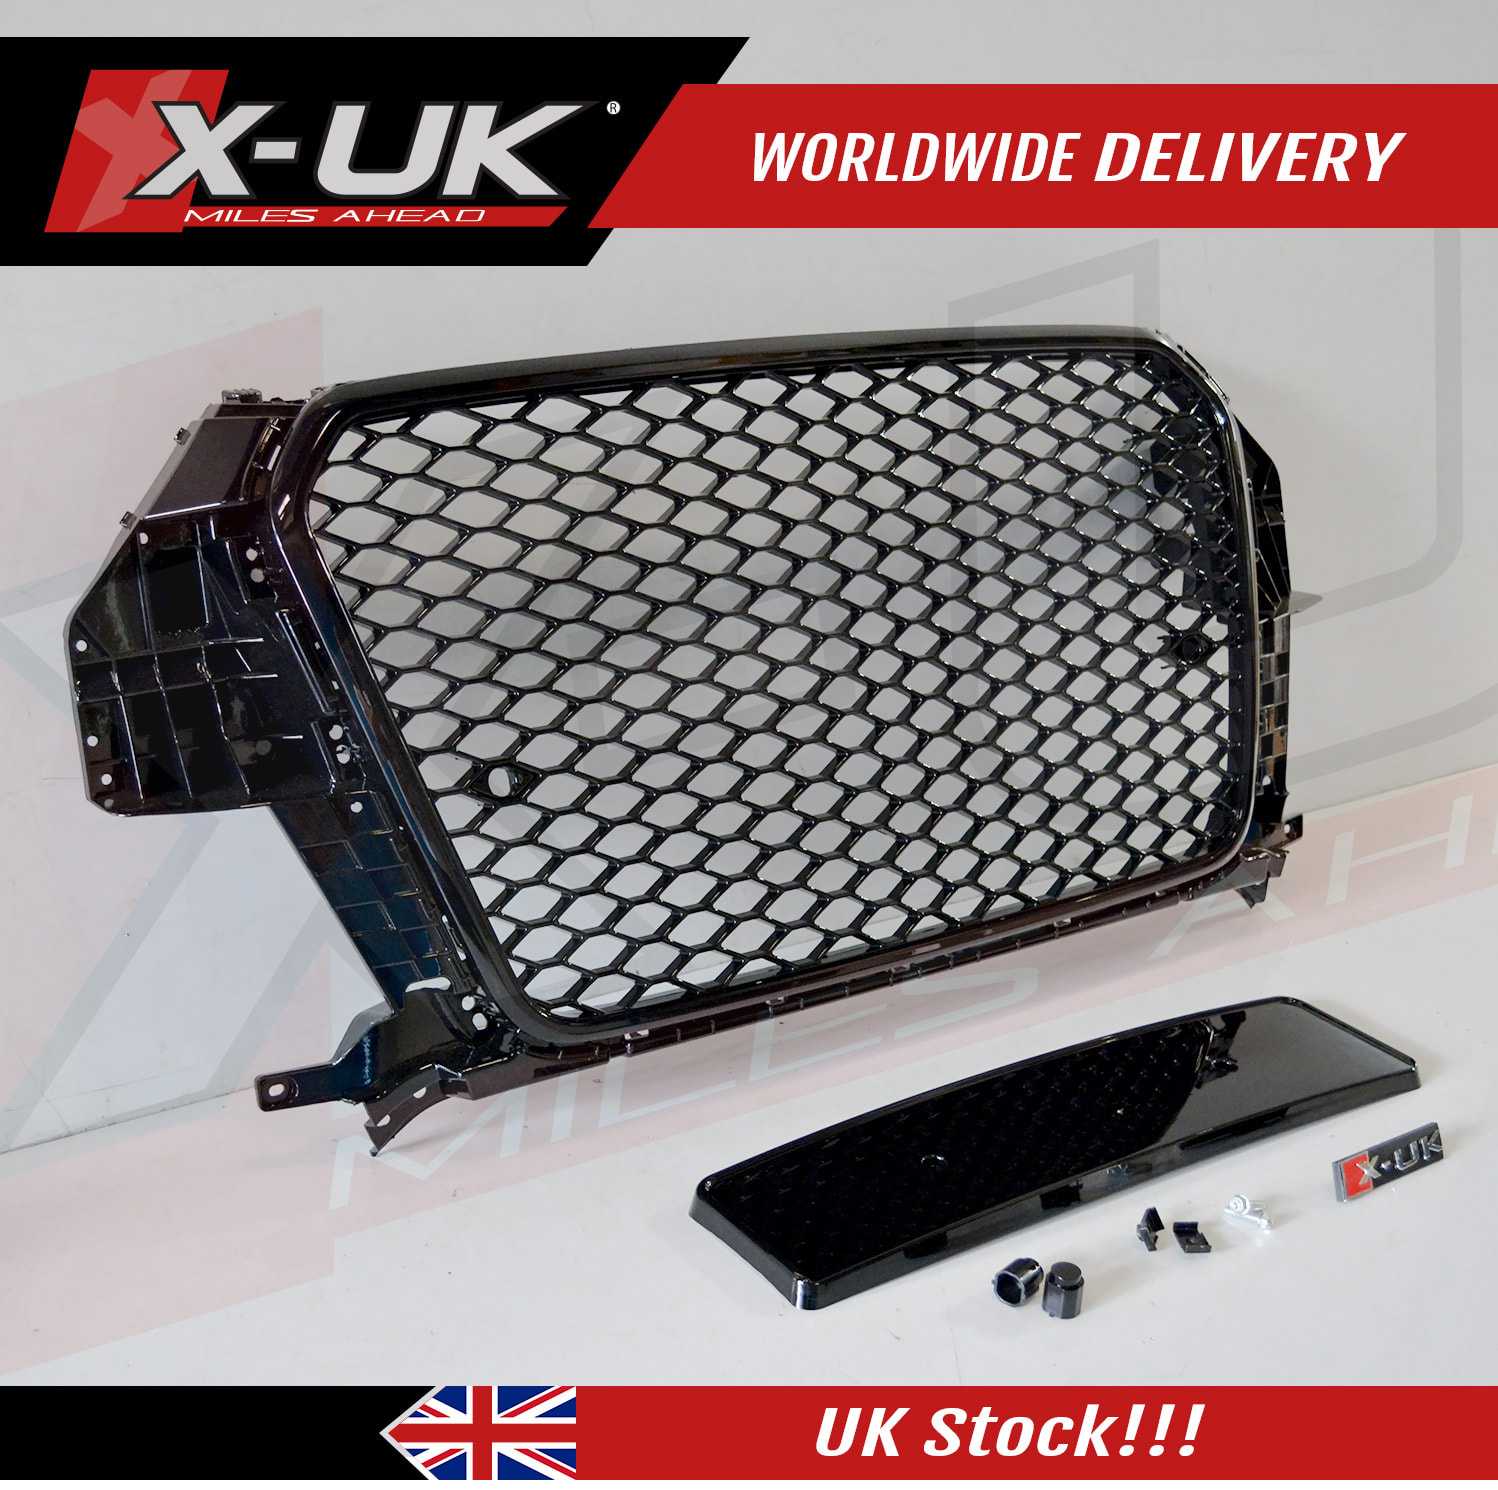
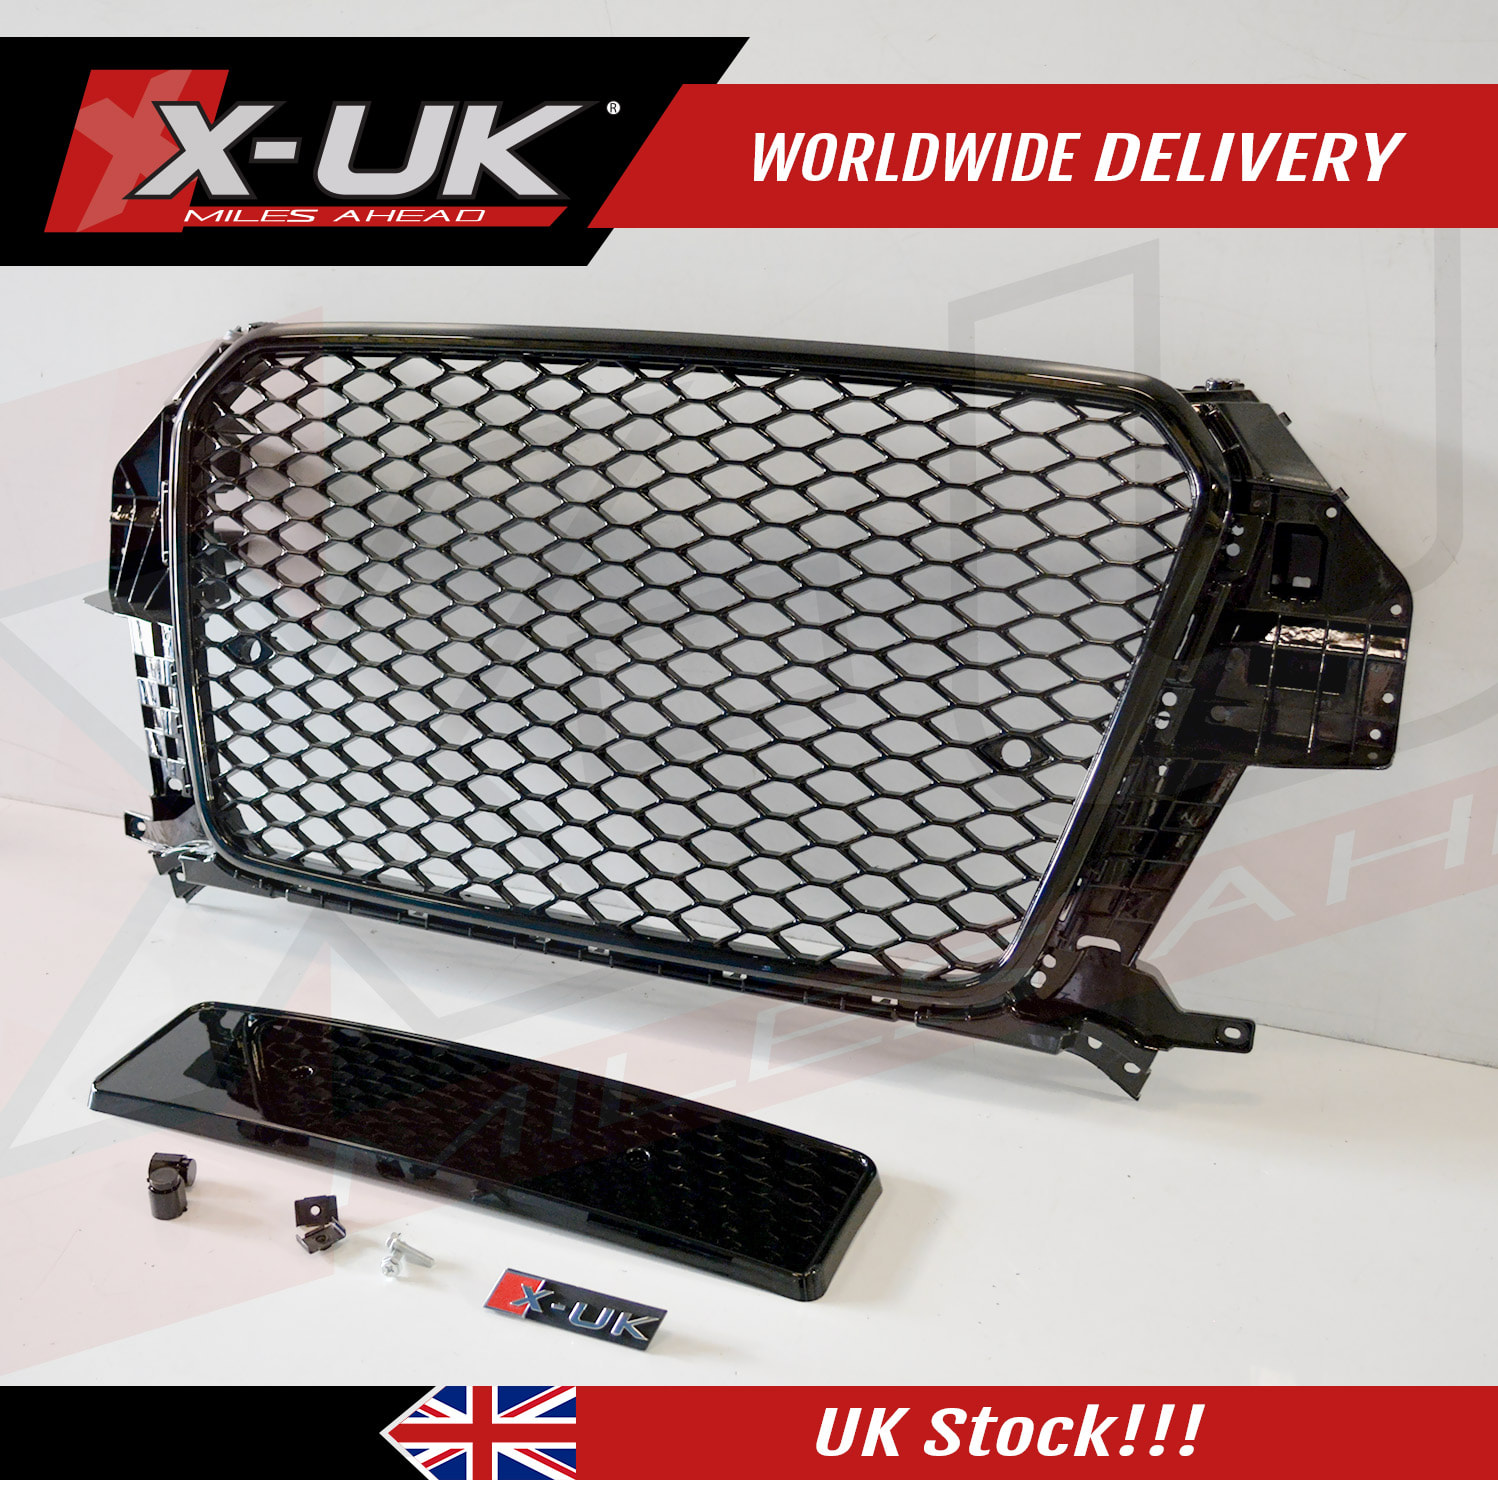
Upgrade your Audi Q3 SQ3 (2011-2017) with the dynamic and sporty aesthetic of the RSQ3 style front bumper conversion.
ITEM SPECIFICATIONS:
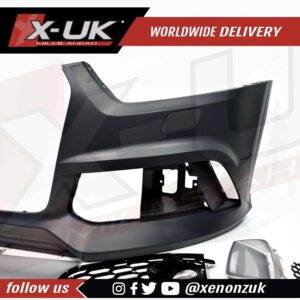
- We manufacture our RSQ3 style front bumper conversion for the Audi Q3 / SQ3 2011-2017 from PP plastic (polypropylene).
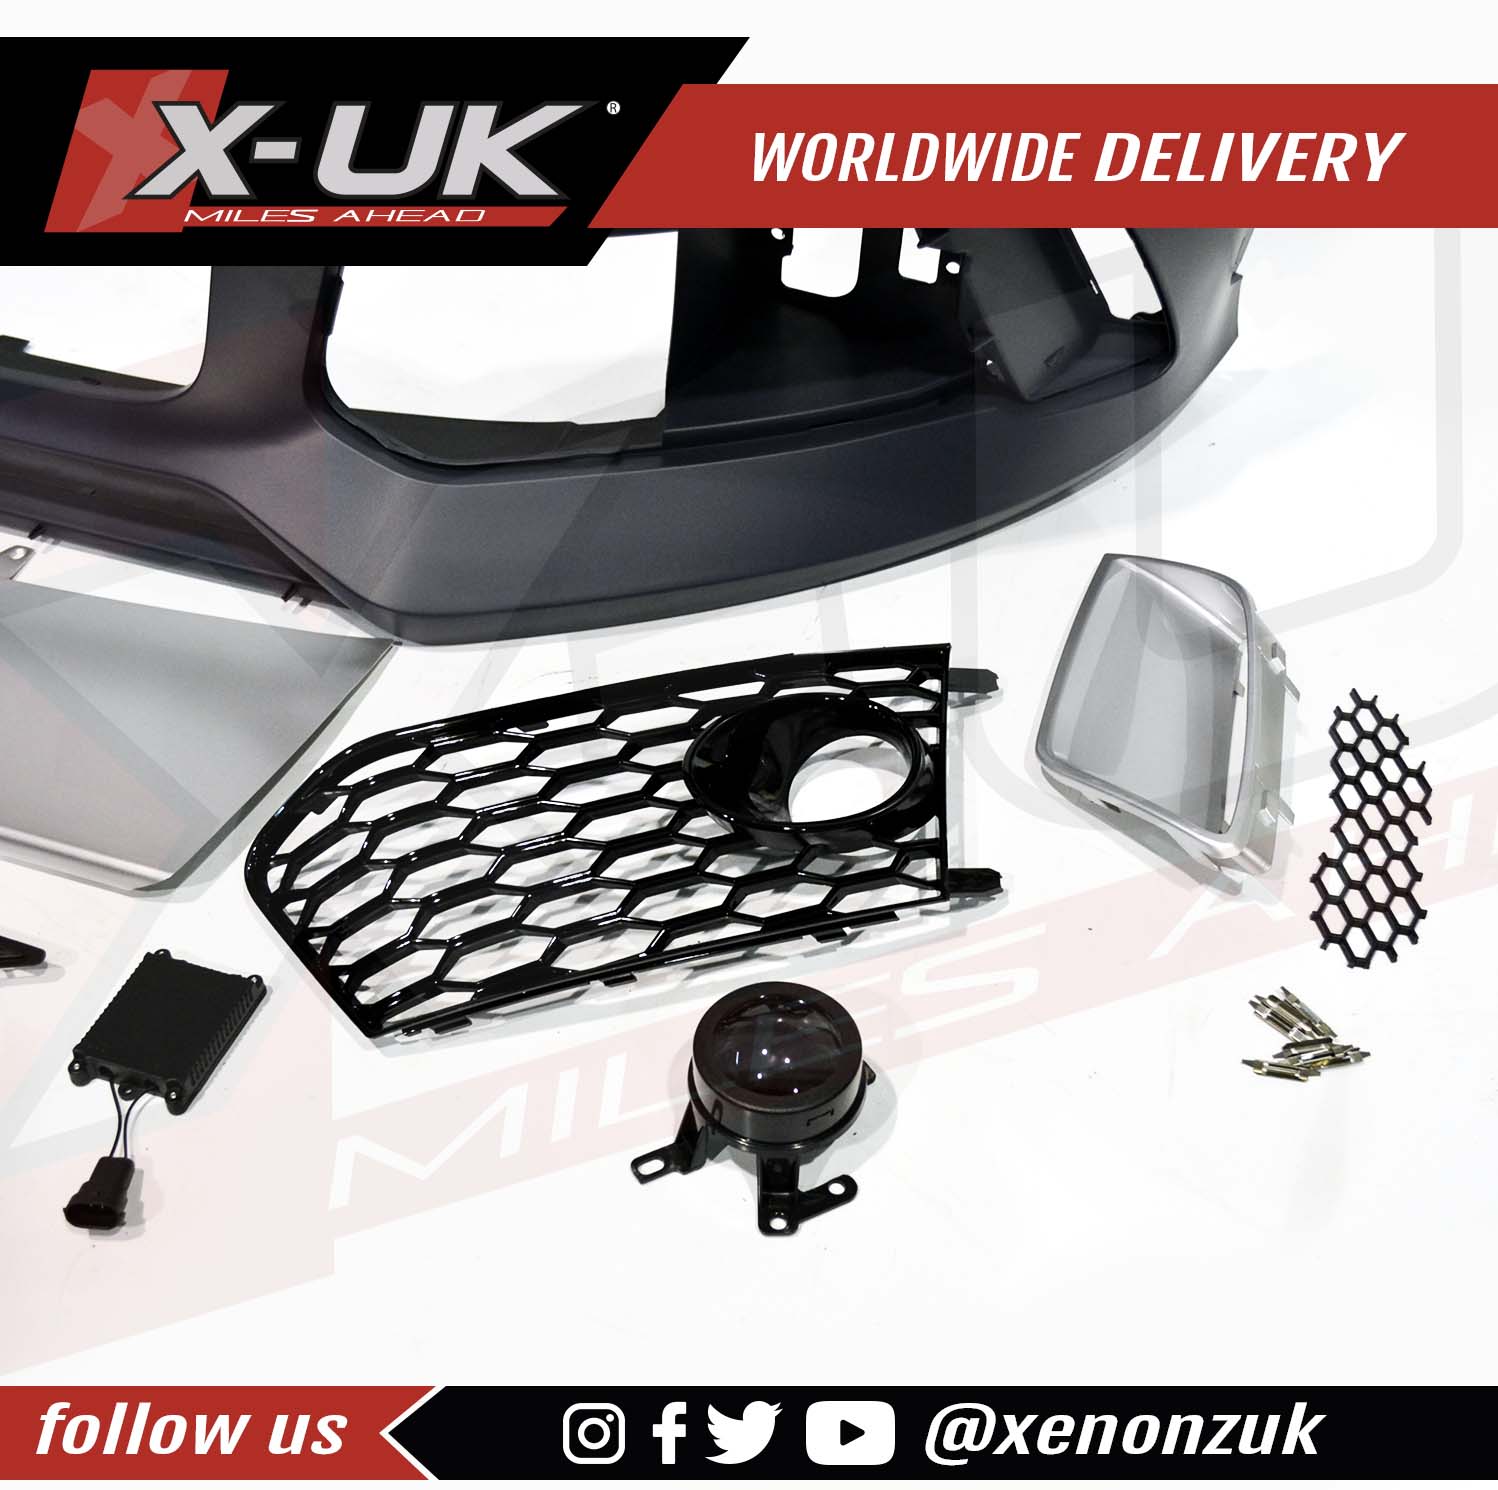
COMES WITH:
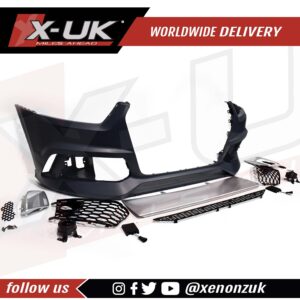
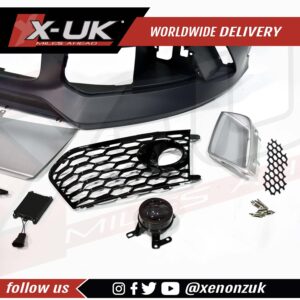
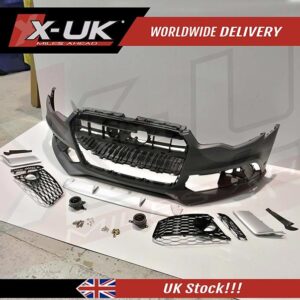
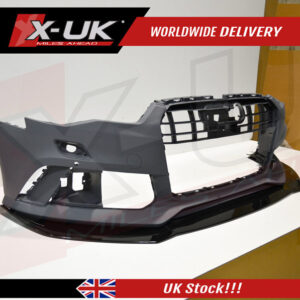
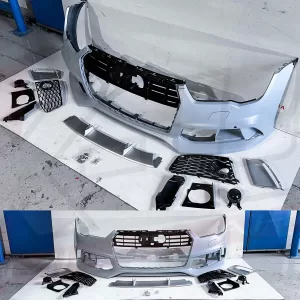
- Bumper skin “unpainted”.
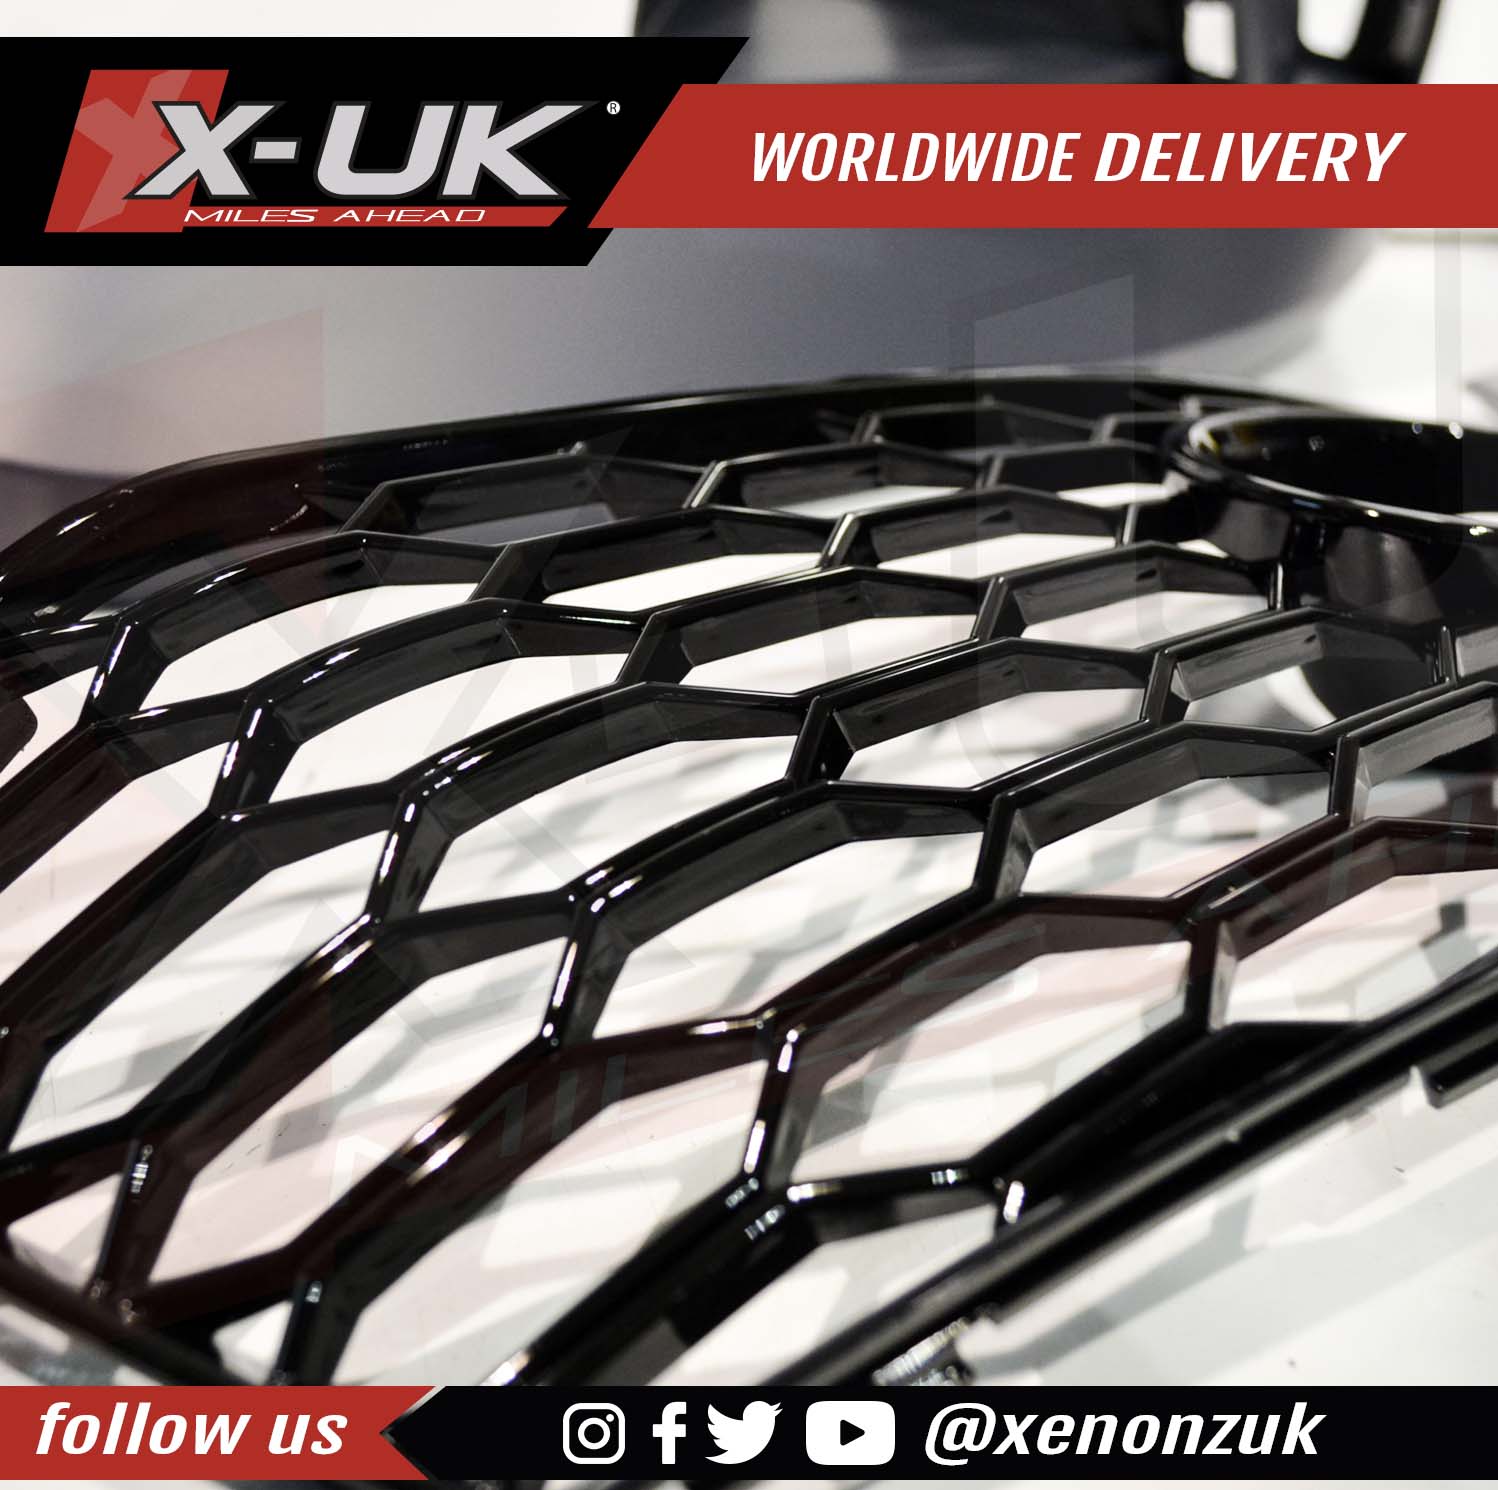
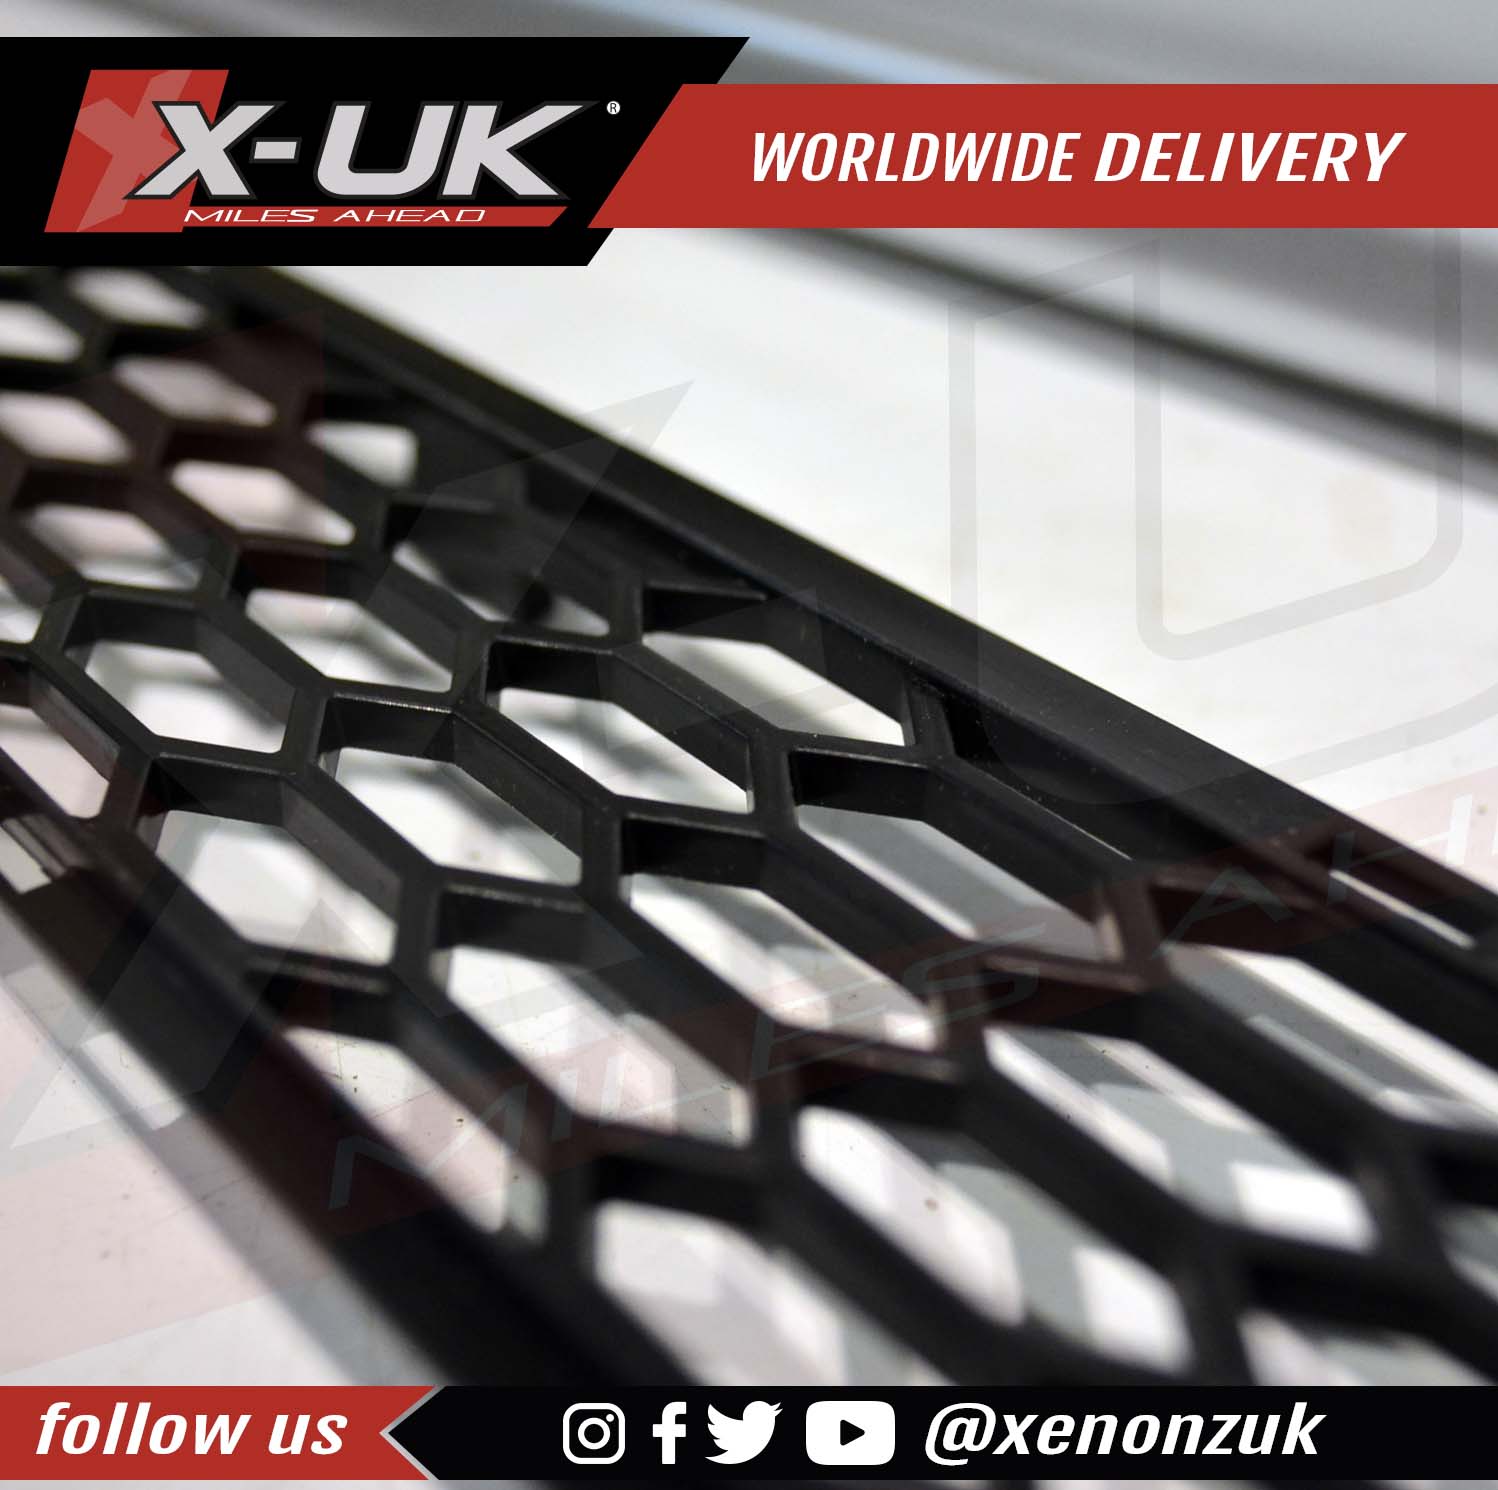
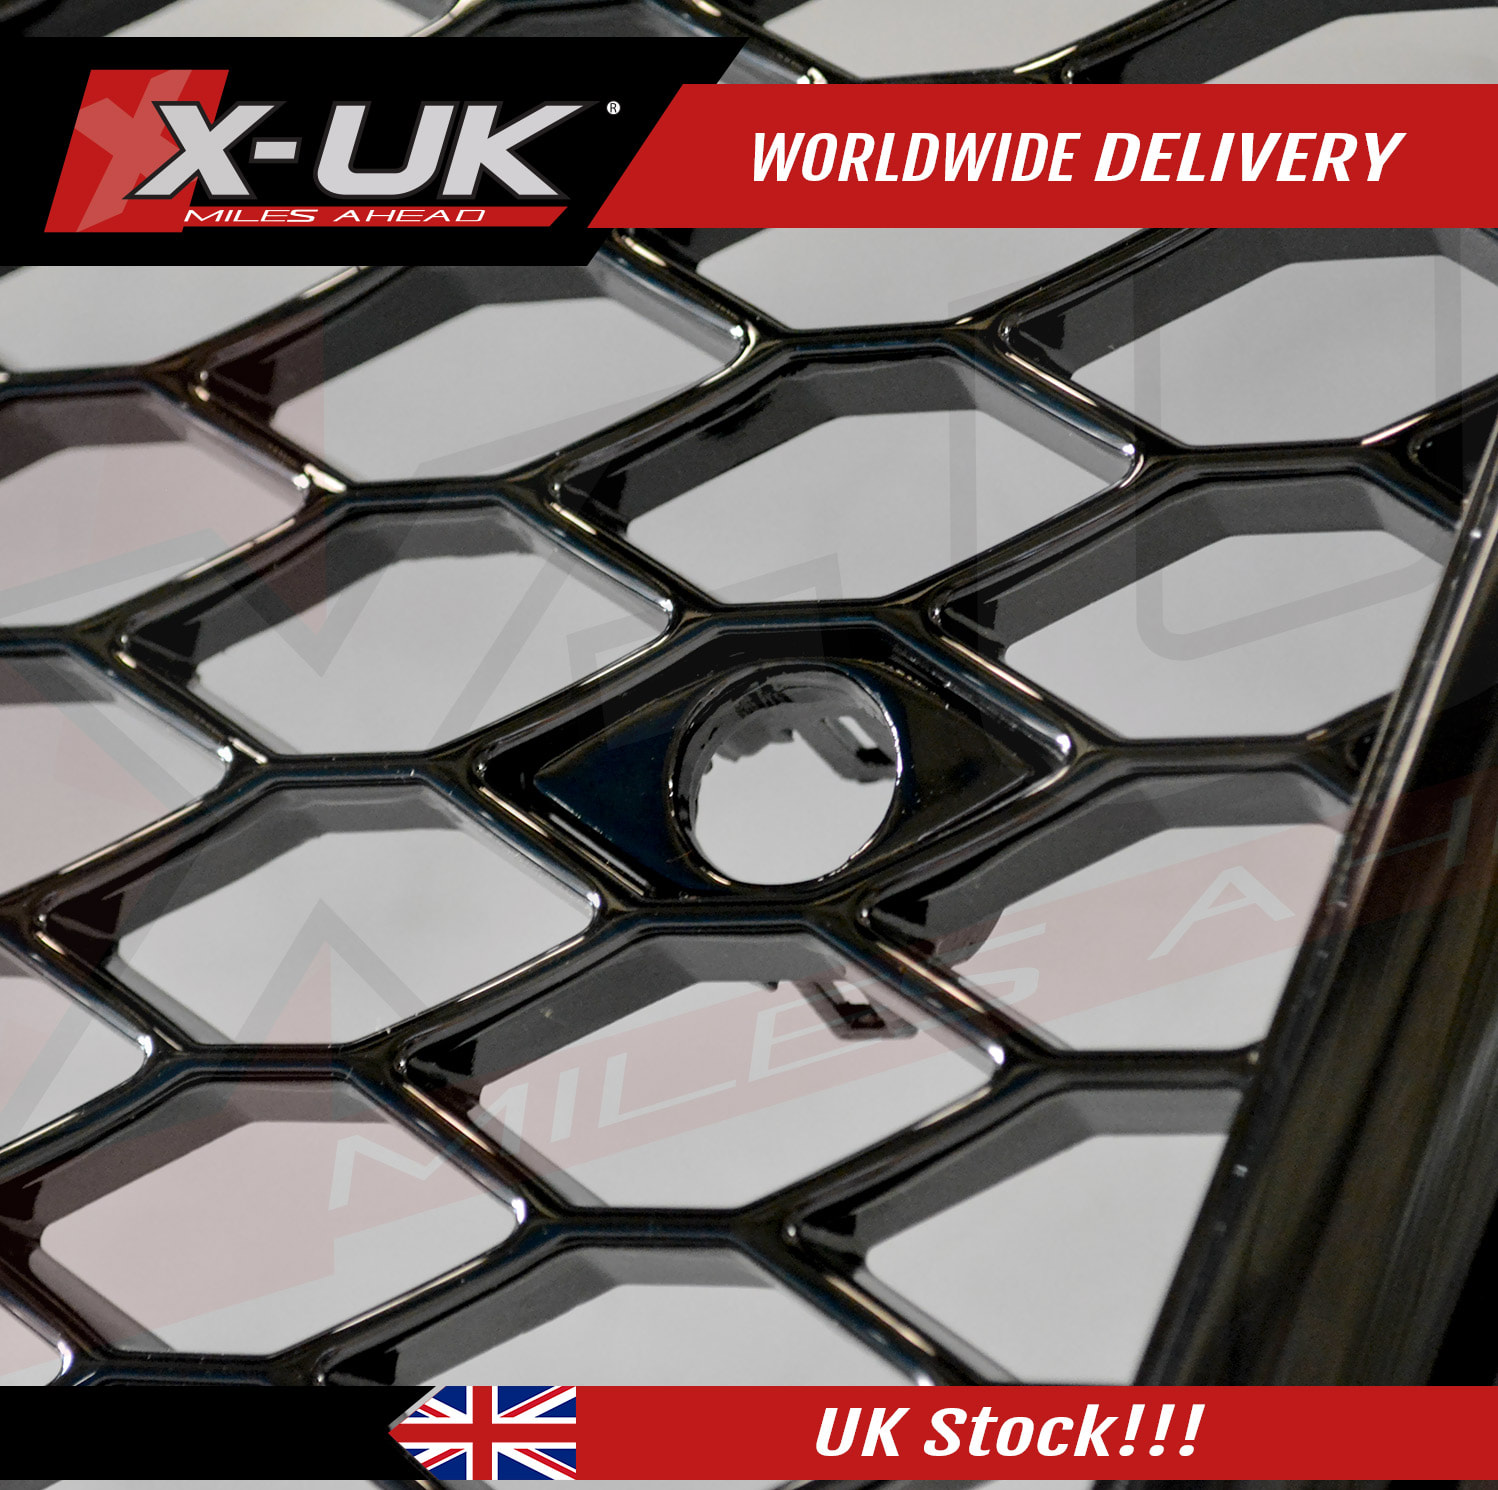
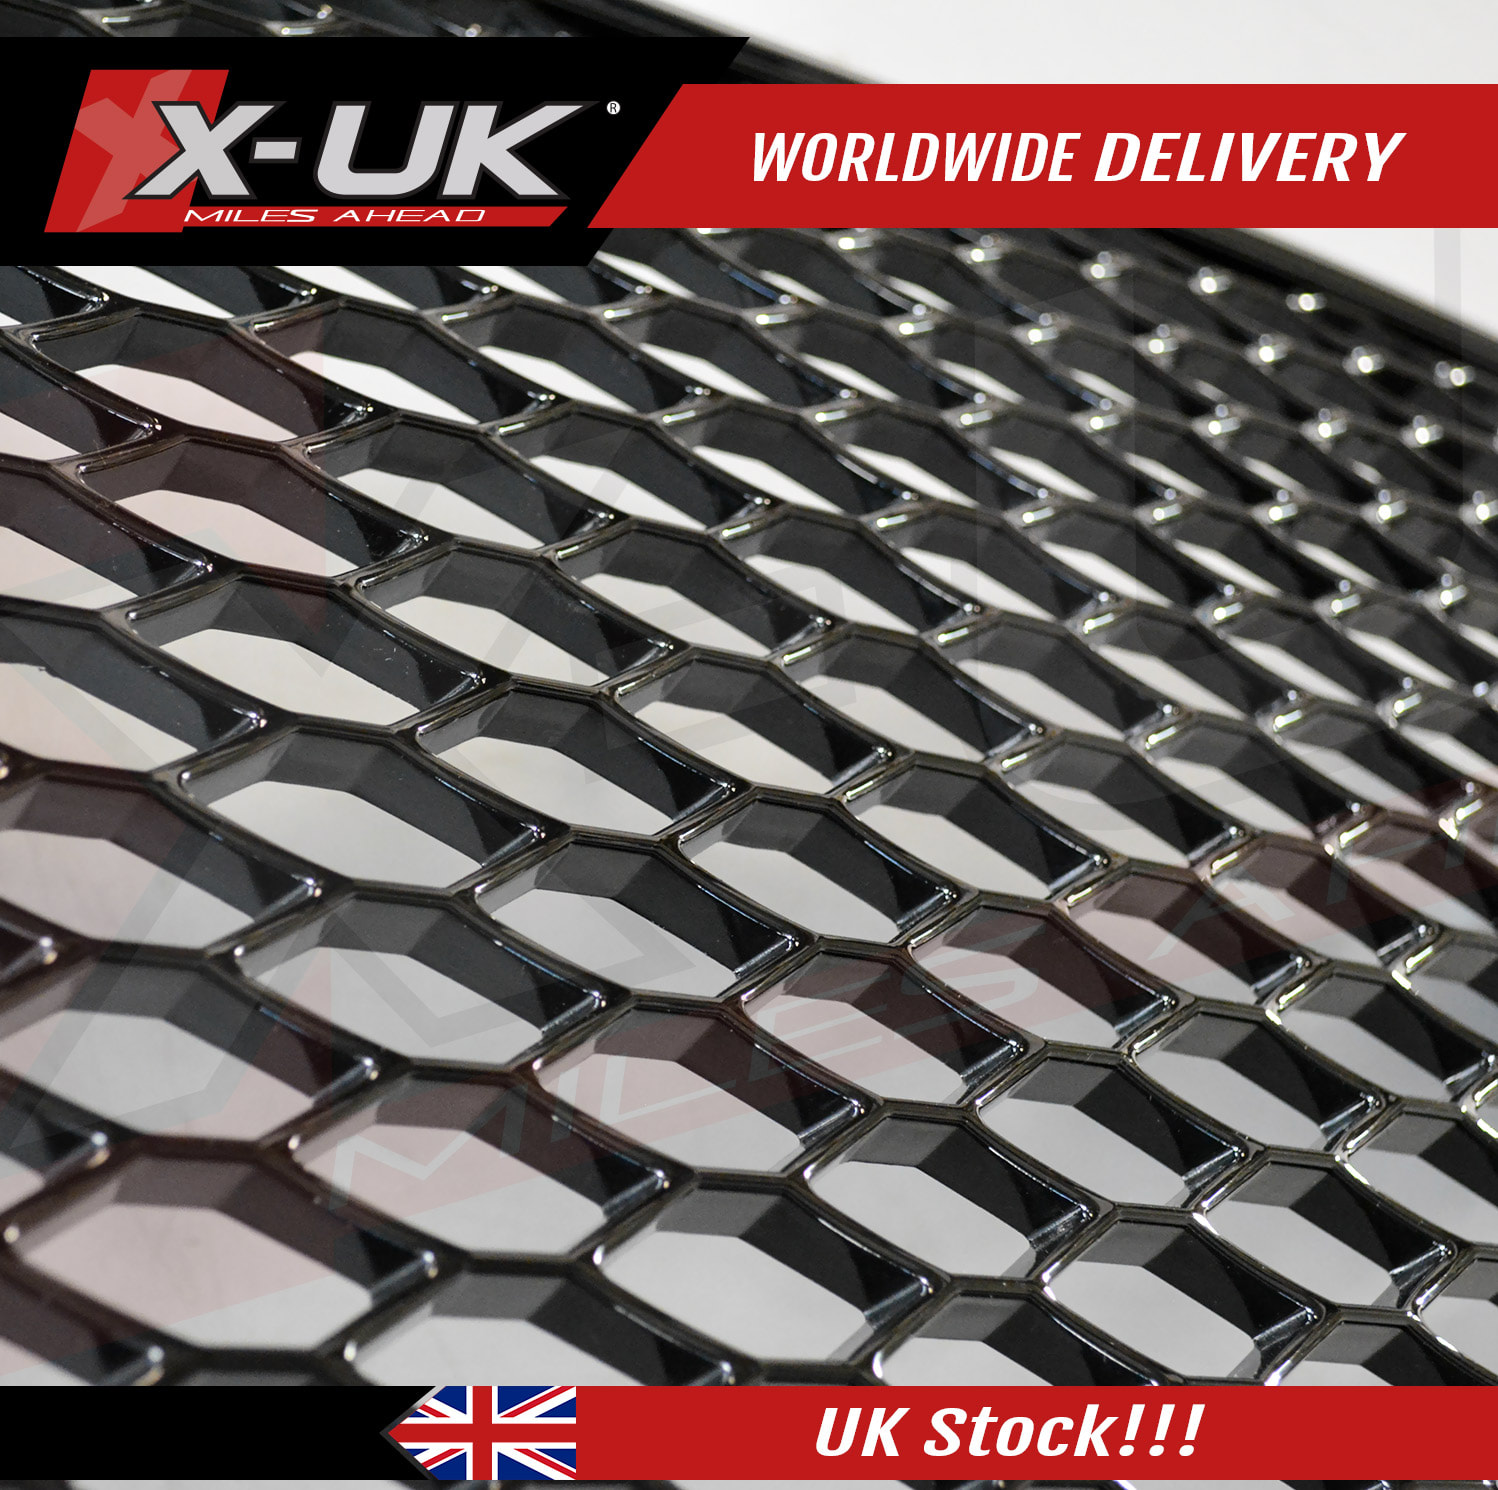
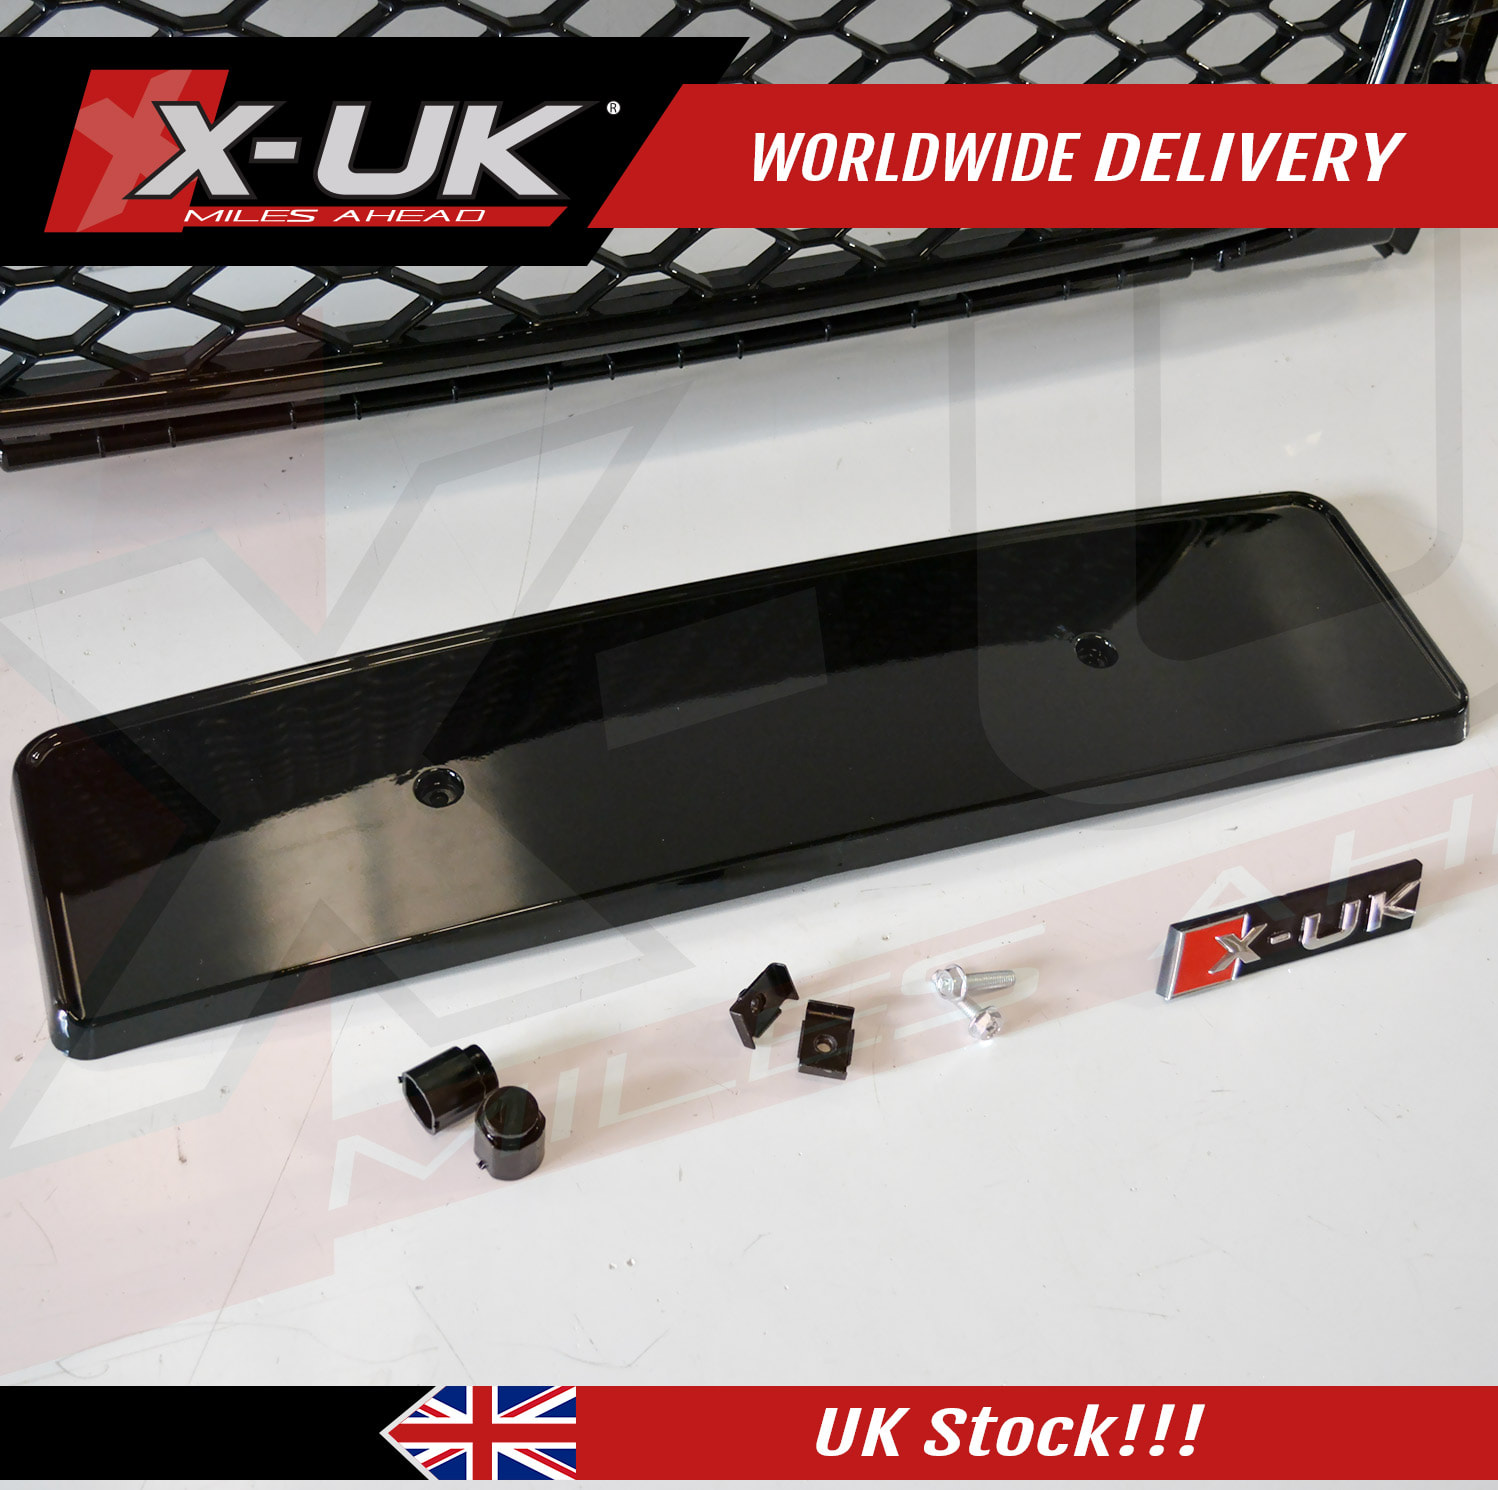
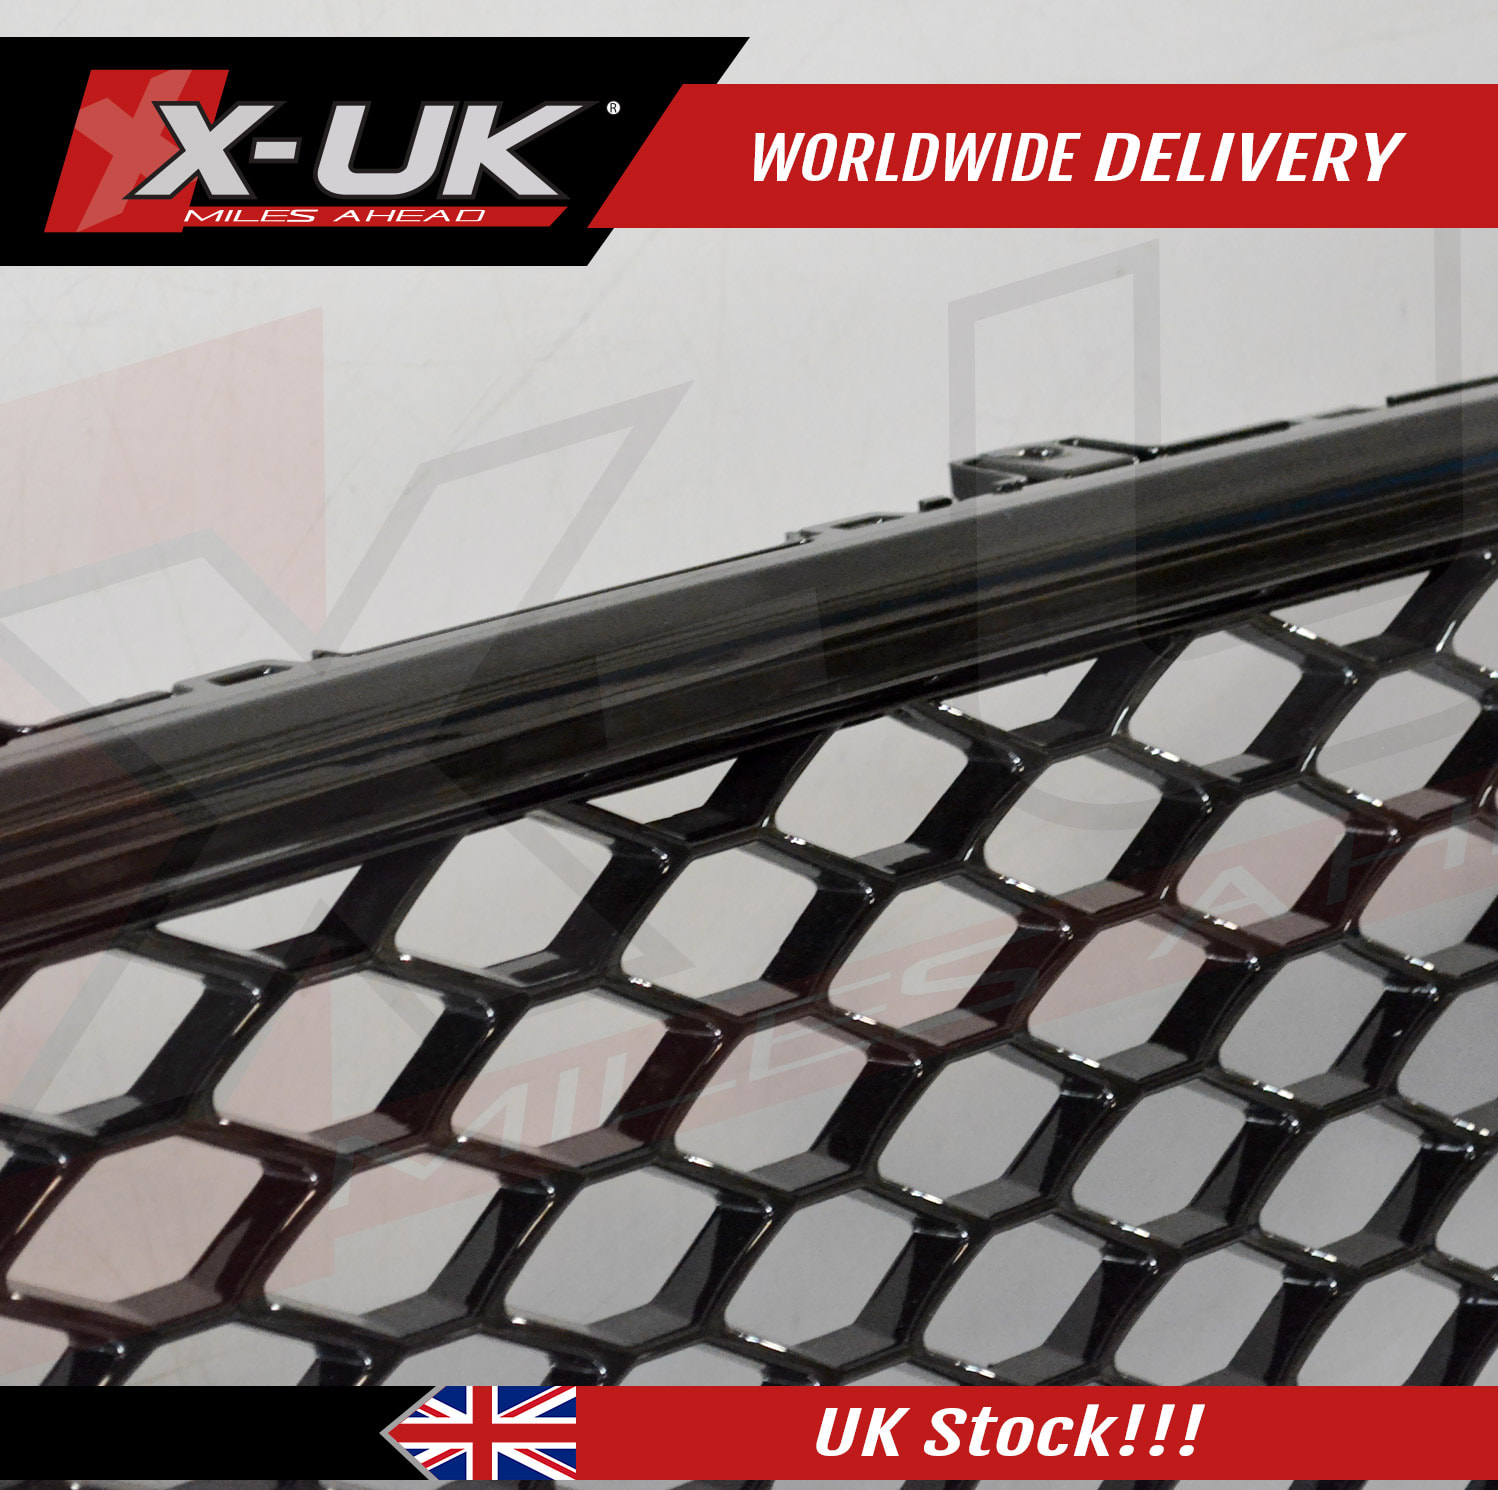
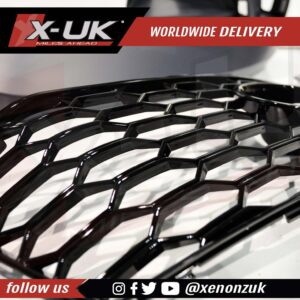
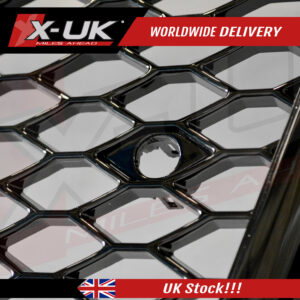
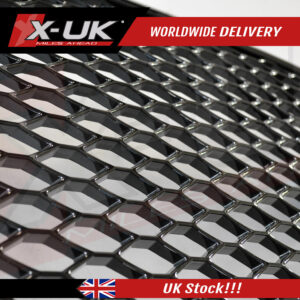
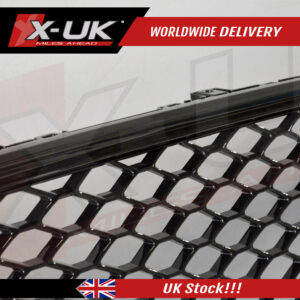
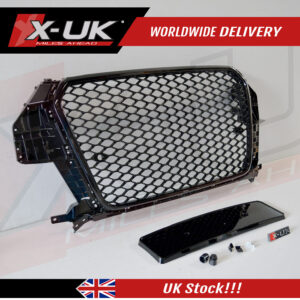
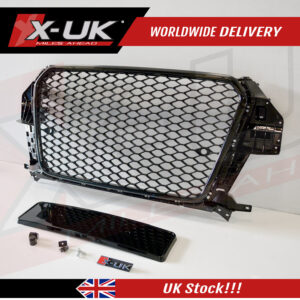
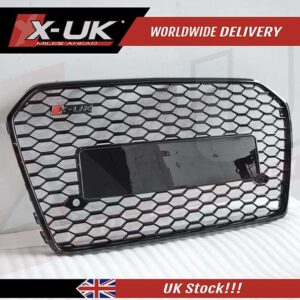
- Comes without or with a front grill “full honeycomb mesh design without any logos”.
- ABS plastic air ducts with a silver finish.
- A pair of side mesh vents “unpainted”.
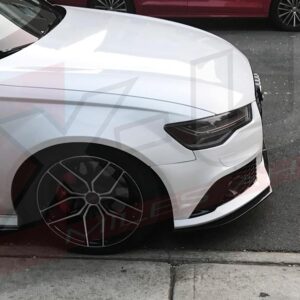
- ABS plastic front lip with a silver finish.
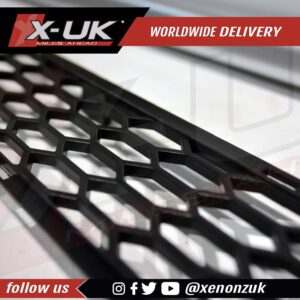
- Bottom mesh.
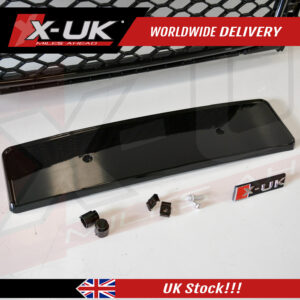
- A pair of side grills with a gloss black finish.
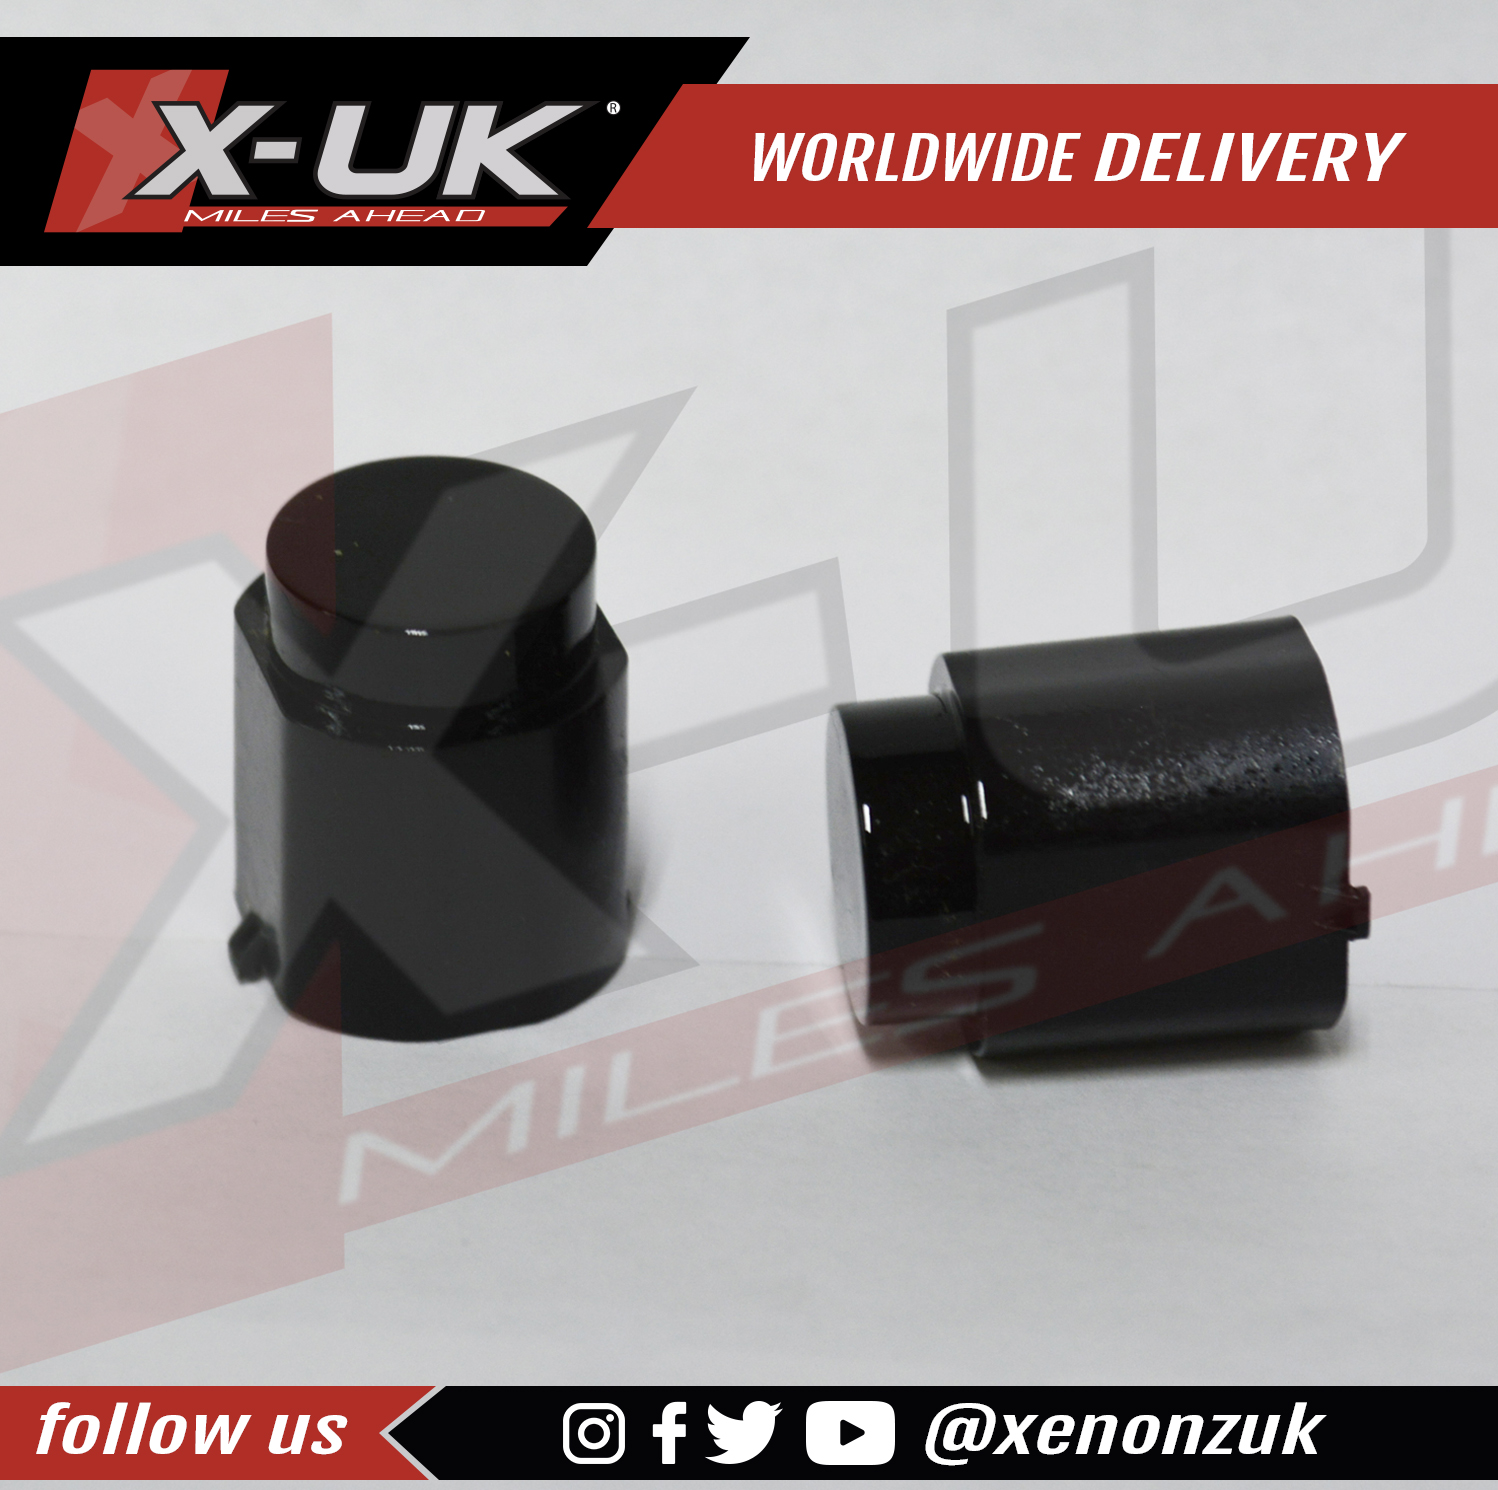
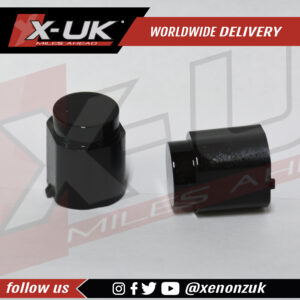
- Foglight cancellers to stop error messages as fog lights will be removed.
INSTALLATION:
1. Prepare the Area: Park the car on a flat surface and engage the parking brake. If necessary, raise the front of the vehicle using a jack and support it securely with jack stands for easier access to the front bumper.
2. Remove the OEM Bumper: Locate and remove the screws, bolts, or clips securing the OEM front bumper. These are typically found underneath the bumper, inside the wheel arches, and sometimes under the hood or at the bottom. Use a screwdriver and trim removal tools as needed to carefully detach any clips or fasteners.
3. Disconnect Wiring (if applicable): If there are any fog lights, sensors, or other electrical components attached to the bumper, disconnect their wiring harnesses by carefully releasing the connectors.
4. Detach the Bumper: With all fasteners and clips removed, gently pull the OEM bumper away from the vehicle. Be cautious of any remaining attachments, such as clips or wiring, and disconnect them to completely remove the bumper.
5. Prepare the New Bumper Conversion: Unbox the Audi RSQ3 style front bumper conversion kit and inspect it for any damage or missing parts. Compare it to the OEM bumper to familiarize yourself with the installation points and alignment.
6. Install the New Bumper: Align the new bumper conversion with the mounting points on the vehicle. Carefully attach any clips, fasteners, or wiring connections according to the kit’s instructions. Ensure a proper fit by adjusting the bumper as needed before securing it in place.
7. Secure the New Bumper: Once properly aligned, fasten the new bumper conversion using the provided screws, bolts, or clips. Ensure that all attachment points are securely fastened but avoid overtightening to prevent damage.
8. Double-check and Clean-Up: Inspect the installed bumper to ensure it is securely attached and aligned correctly. Clean the surface of the bumper with a microfiber cloth and panel wipe to remove any fingerprints or marks.
9. Test Functionality (if applicable): If the bumper includes any integrated components like fog lights or sensors, test their functionality to ensure they work properly.
10. Lower the Vehicle (if raised): Carefully lower the vehicle back to the ground if you used a jack and jack stands.
- We strongly recommend professional installation by experienced technicians who are well-versed in automotive upgrades.
- For any additional questions or assistance, don’t hesitate to contact our dedicated support team. We’re here to help you make the most of your automotive upgrade experience.
FITMENT:
- Q3 2011-2017.
- Audi SQ3 2011-2017.
- Painting and fitting services are available with this item! Please email us at xenonzuk@gmail.com for further information.
DELIVERY:
- We deliver worldwide.
- For swift delivery, please place your order before 2:00 pm, ‘UK local time,’ and we’ll dispatch it on the very same day. Alternatively, if you place orders after 2:00 pm, we will promptly process and send them out on the next working day, ensuring a seamless shopping experience for you.
- If you want an exact delivery price, please email us at xenonzuk@gmail.com with your full postal address and we will give you a quotation.
| Weight | 15 kg |
|---|---|
| Dimensions | 190 × 58 × 70 in |
Reviews
There are no reviews yet.
Only logged in customers who have purchased this product may leave a review.
Related products
£449.99 – £549.99
Rated 5.00 out of 5
£379.99Rated 5.00 out of 5
£399.99 – £534.99Rated 5.00 out of 5
£309.99Sale!
£1,127.99 – £1,364.99


